Portland Guitar Co. | Portland Oregon | Contact Jay Dickinson-503.245.3276 | jay@portlandguitar.com
Portland Guitar Pretty Good Intonation (PGPG) System
Finished Build
Classical Model Sympitar Cutaway
CLSyC 2.1.67
- Body: Flamed Walnut
- Top: Sitka Spruce
- Neck: Mahogany
- Fretboard: Ebony
Page 1
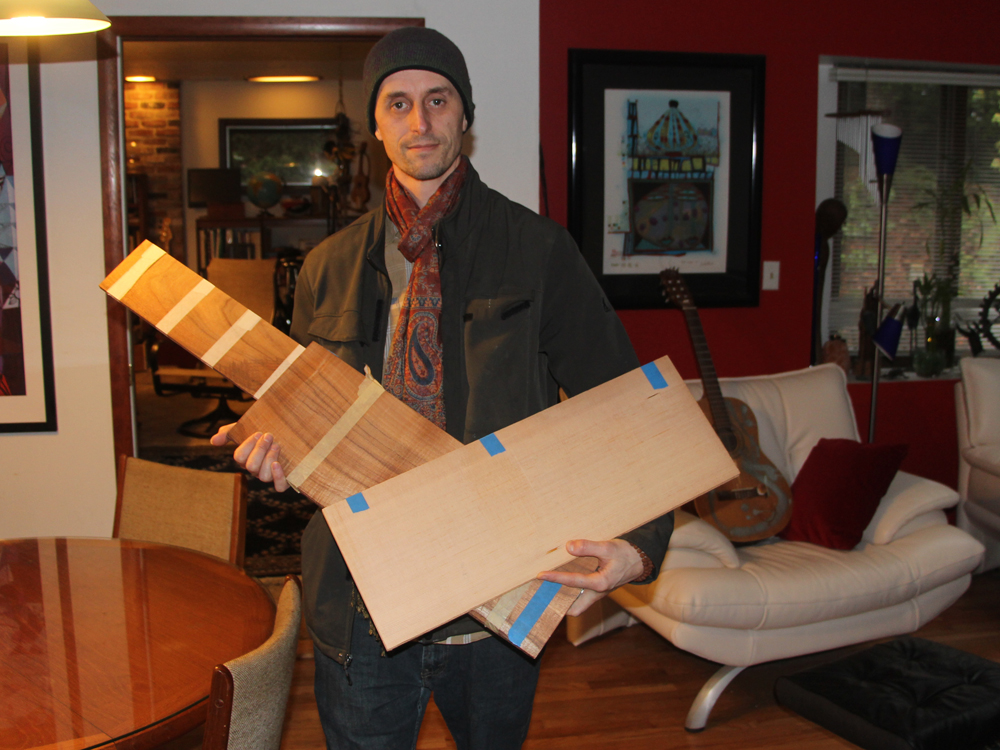 ( 001 ) 4-Jan-2015
Ben with some wood he was considering for this project.
This guitar, which we are going to call a Sympitar, is going to be built on a Classical Guitar Cutaway body with a set of 11 steel strings running from the bridge through the neck, under the fretboard, and attached to the headstock. These strings will be tuned to resonate sympathetically with the played nylon strings. A variety of saddle constructs, including a straight saddle and a sitar style saddle, along with a string dampening system will provide a wide variety of sound.
To Learn more about Ben, visit his web site at
Hollow Root Studio
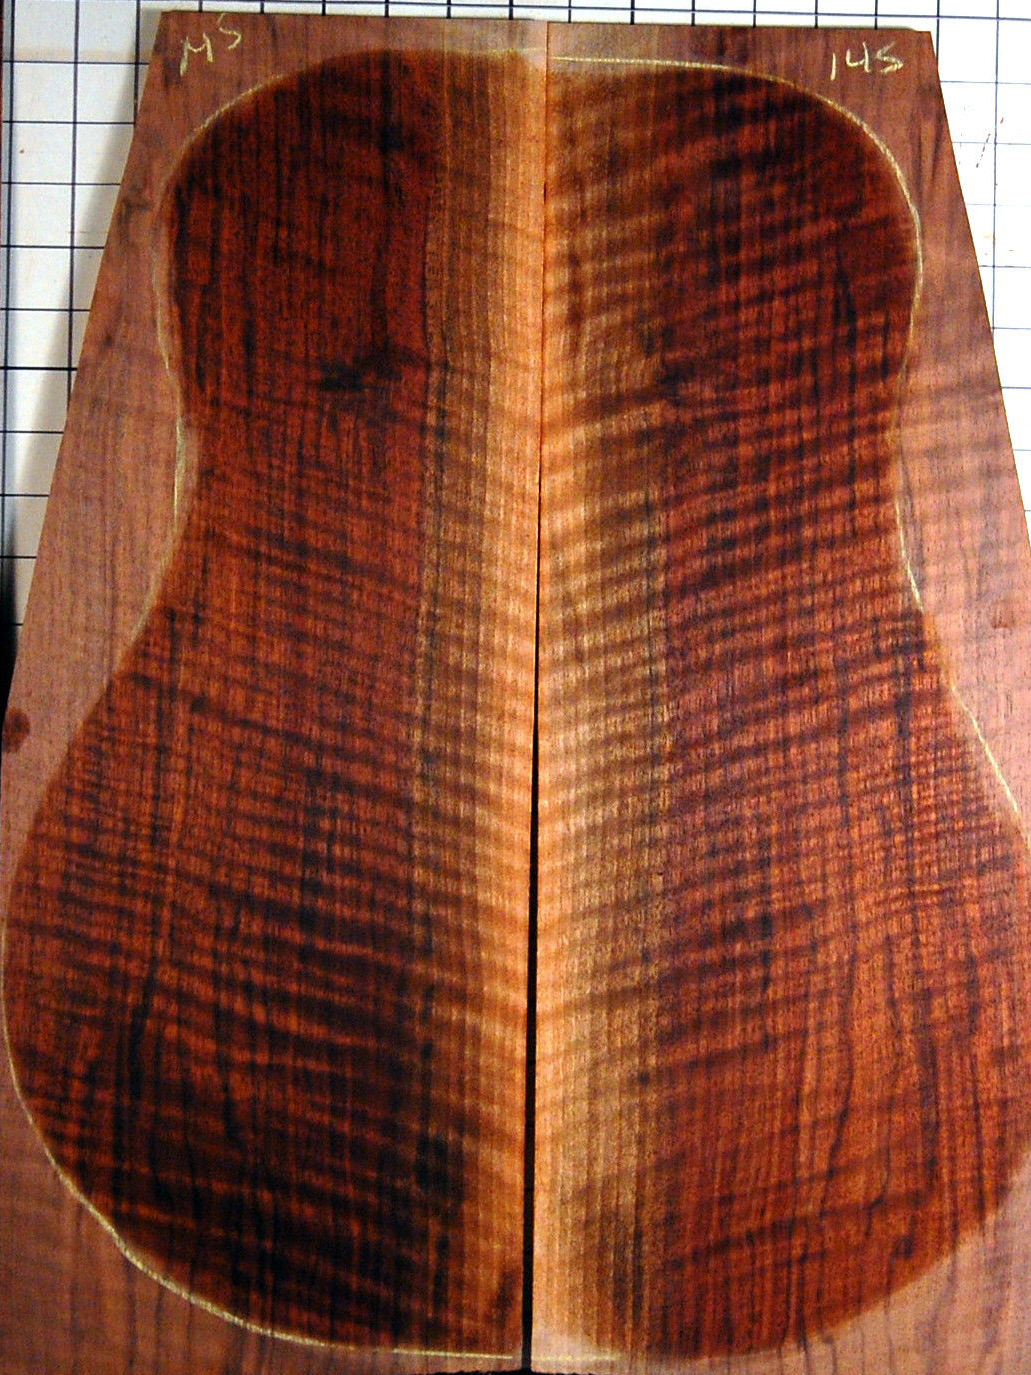 ( 002 ) 12-Jan-2015
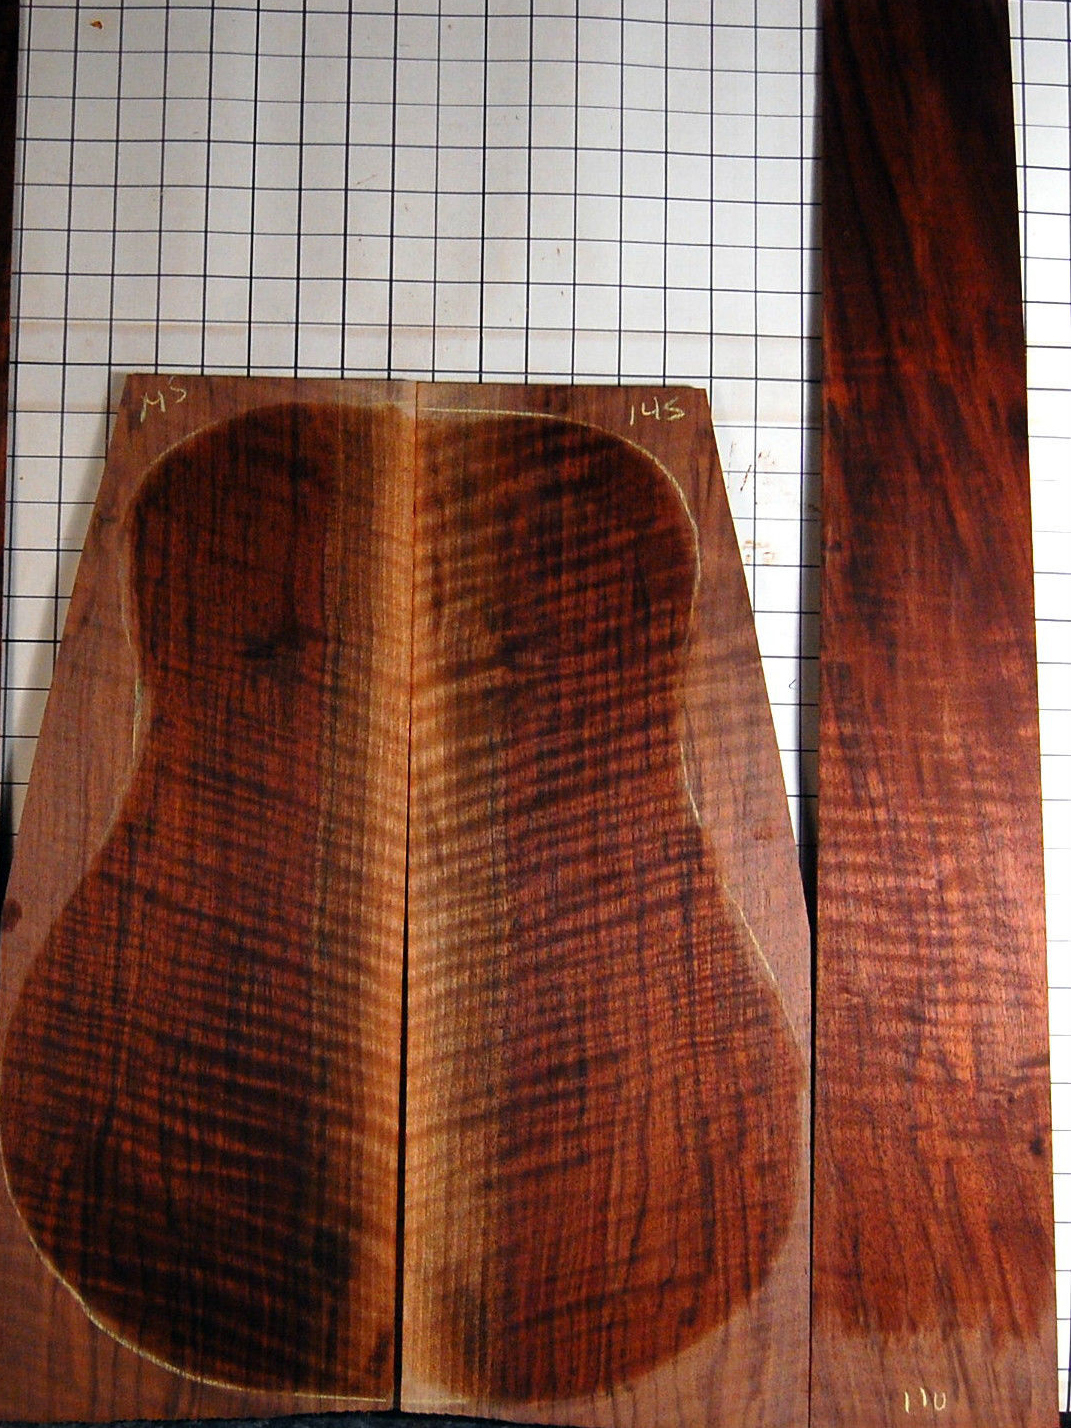
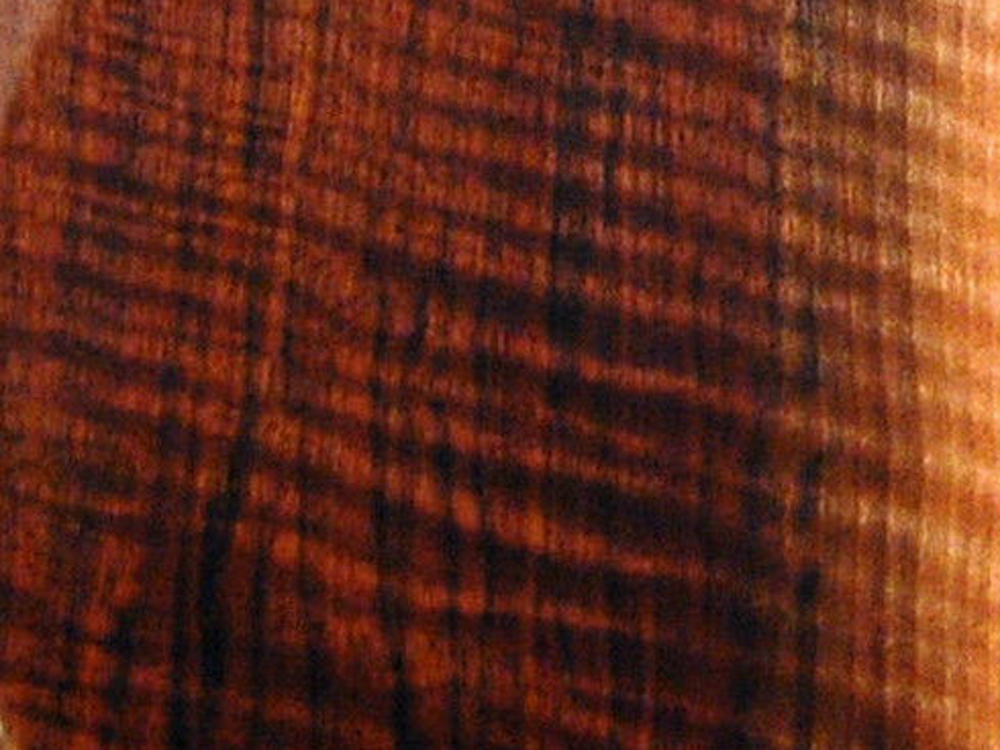
After poking around a bit we ended up with this set of flamed Walnut...
hot hot hot!
 ( 003 ) 12-Jan-2015
 ( 004 ) 12-Jan-2015
More to come on this page....
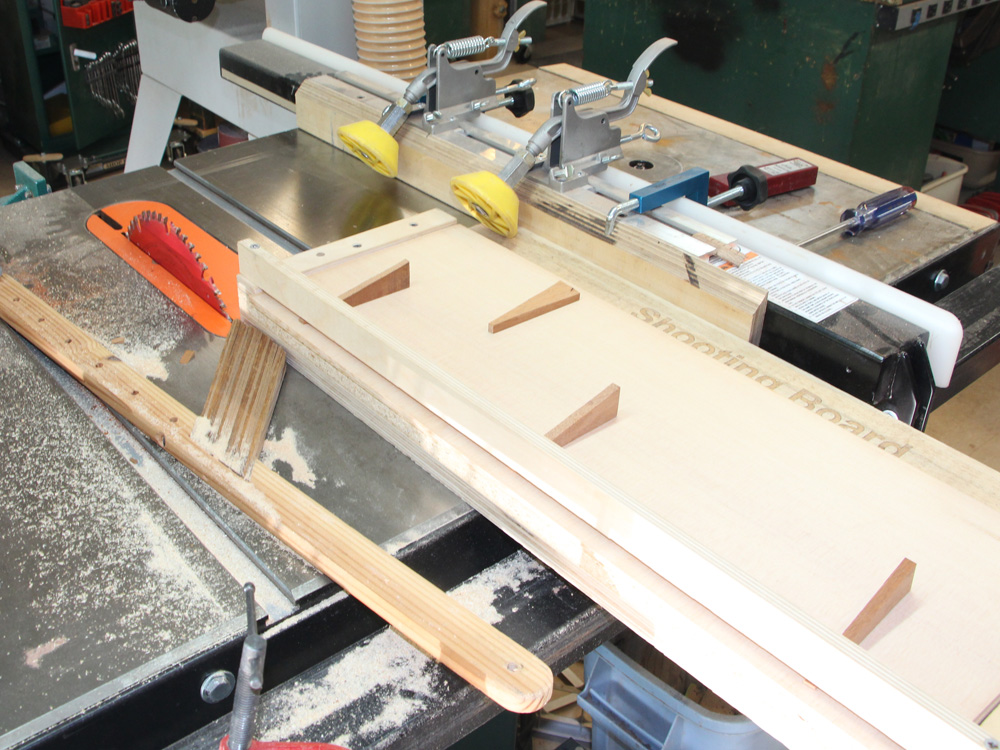 ( 005 ) 13-July-2015
To join the two halves of the top set I use my table saw to trim the edges to exactly match. This shooter sled holds the two pieces as they are sliced.
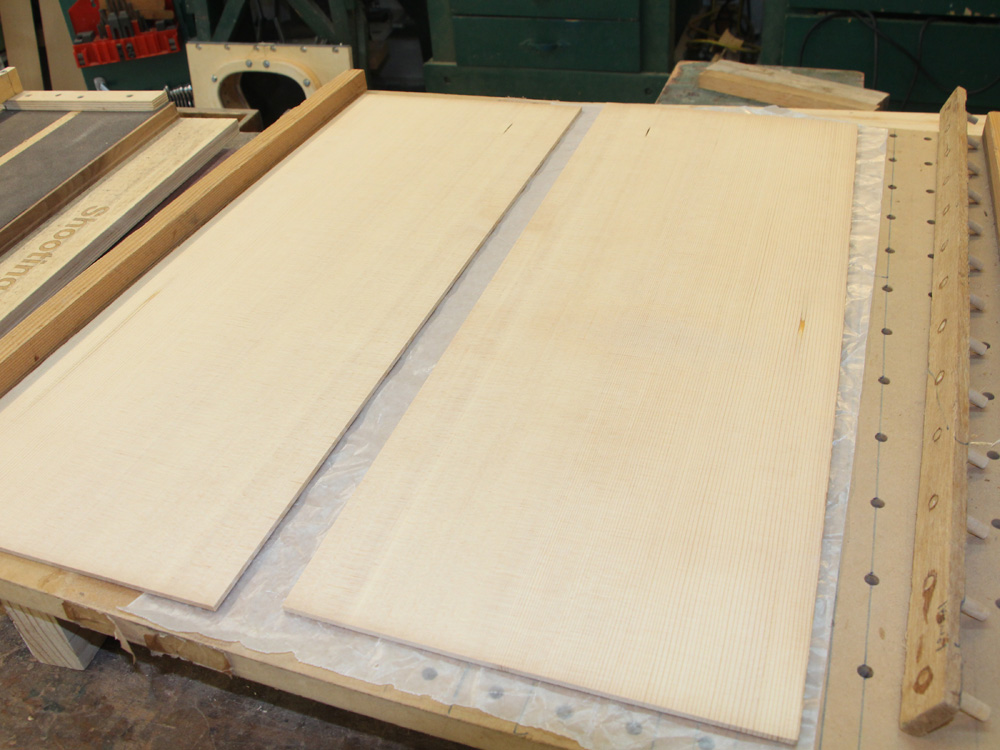 ( 006 ) 13-July-2015
When the two pieces are glued together the seam should be invisible.
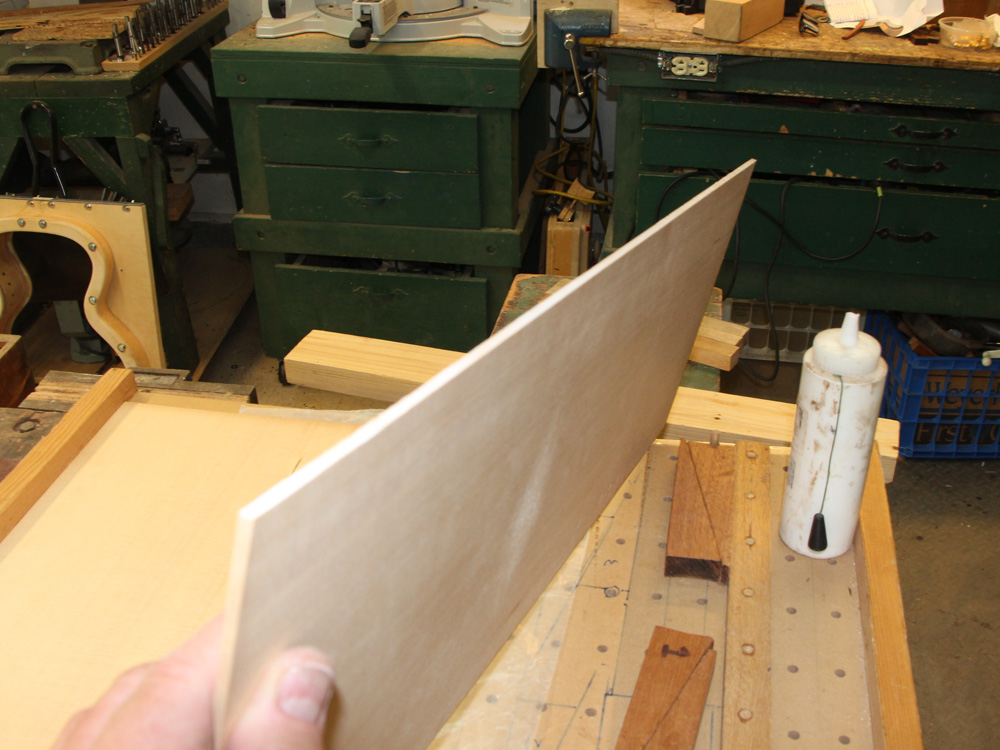 ( 007 ) 13-July-2015
Just the right amount of glue on the edge.
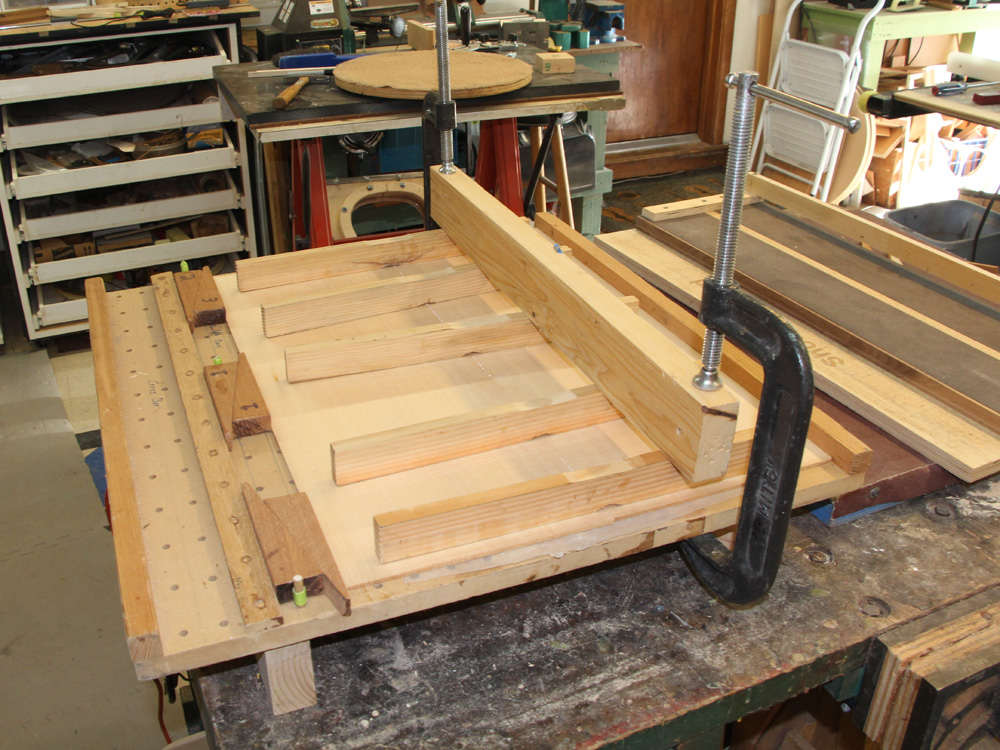 ( 008 ) 13-July-2015
And then this contraption presses the two halves together while they are held flat.
 ( 009 ) 13-July-2015
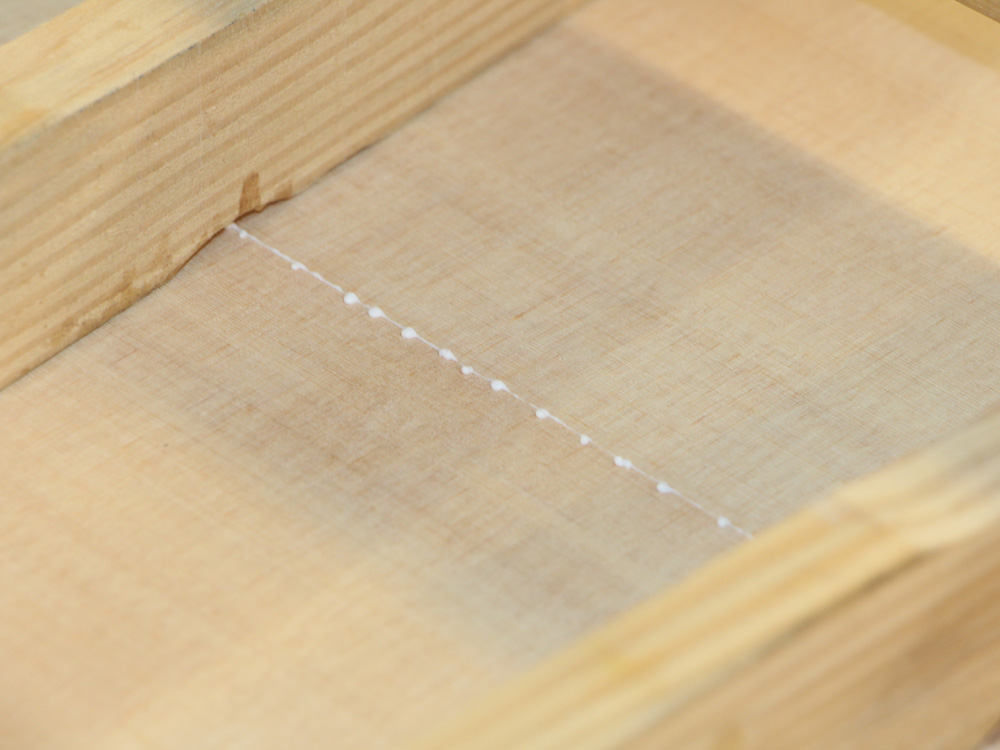
A little bit of glue squeeze out at the seam.
 ( 010 ) 13-July-2015
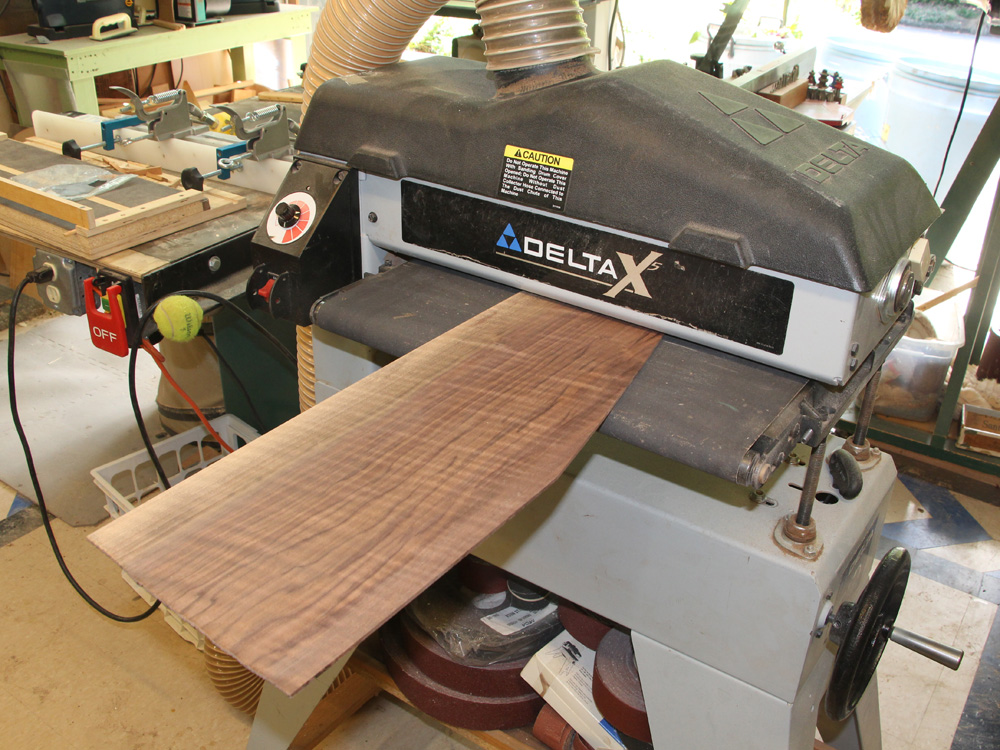
Here I am leveling the back plates with the drum sander.
 ( 011 ) 13-July-2015
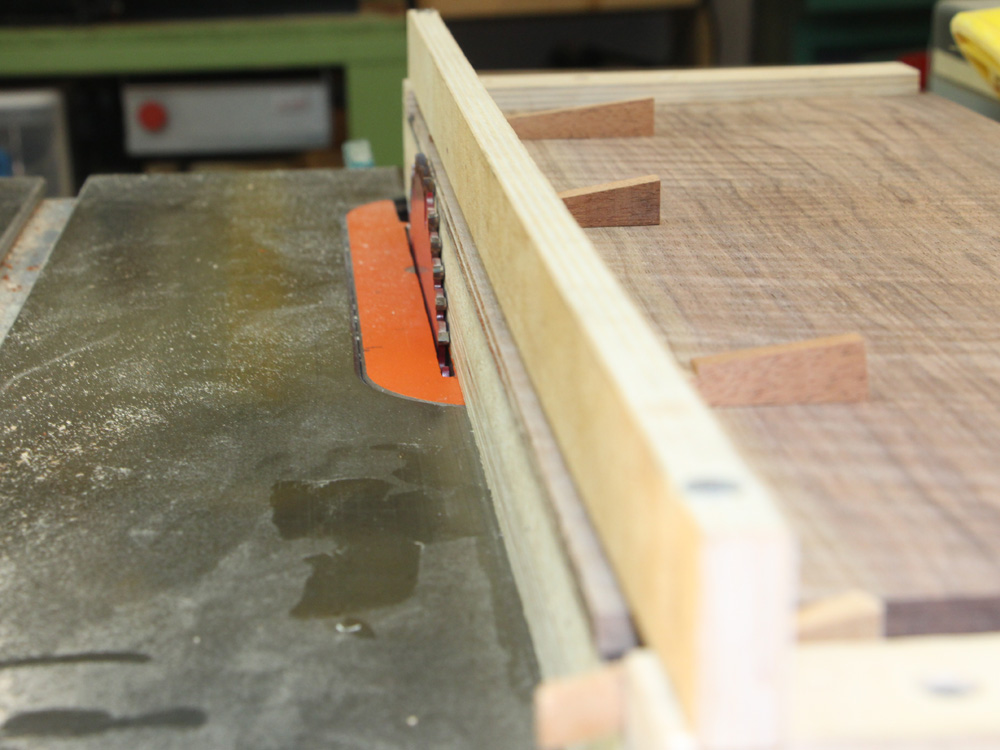
And then the two edges are trimmed with the table saw.
 ( 012 ) 13-July-2015
 ( 013 ) 13-July-2015
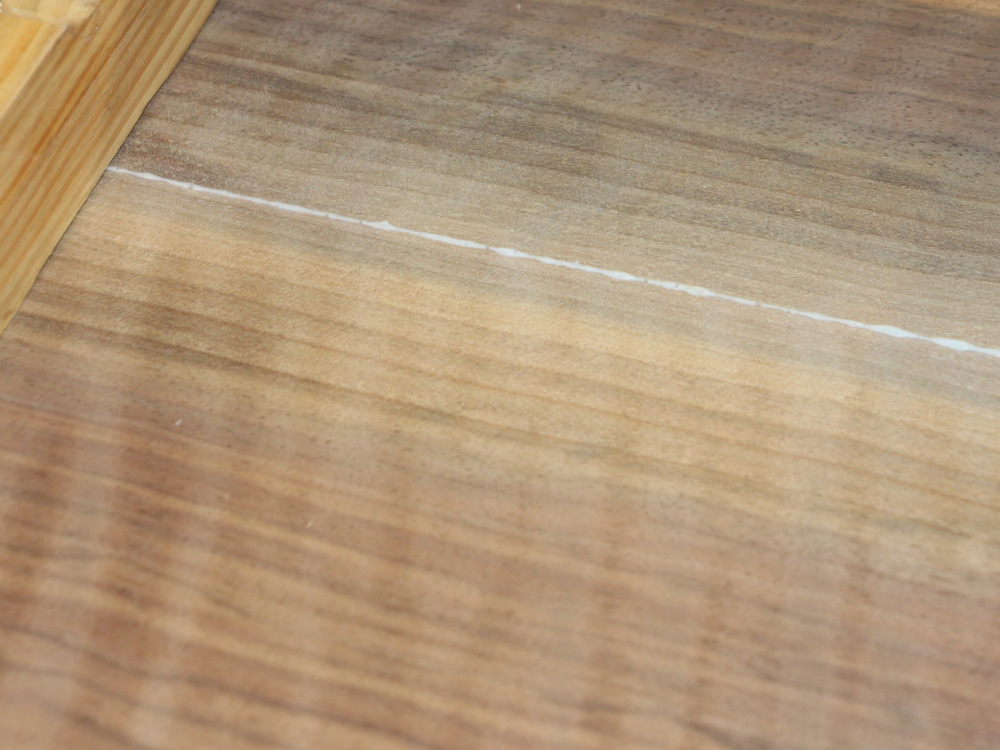
And then glued together.
 ( 014 ) 13-July-2015
 ( 015 ) 13-July-2015
I use the drum sander one more time to make the two halves perfectly flush.
 ( 016 ) 13-July-2015
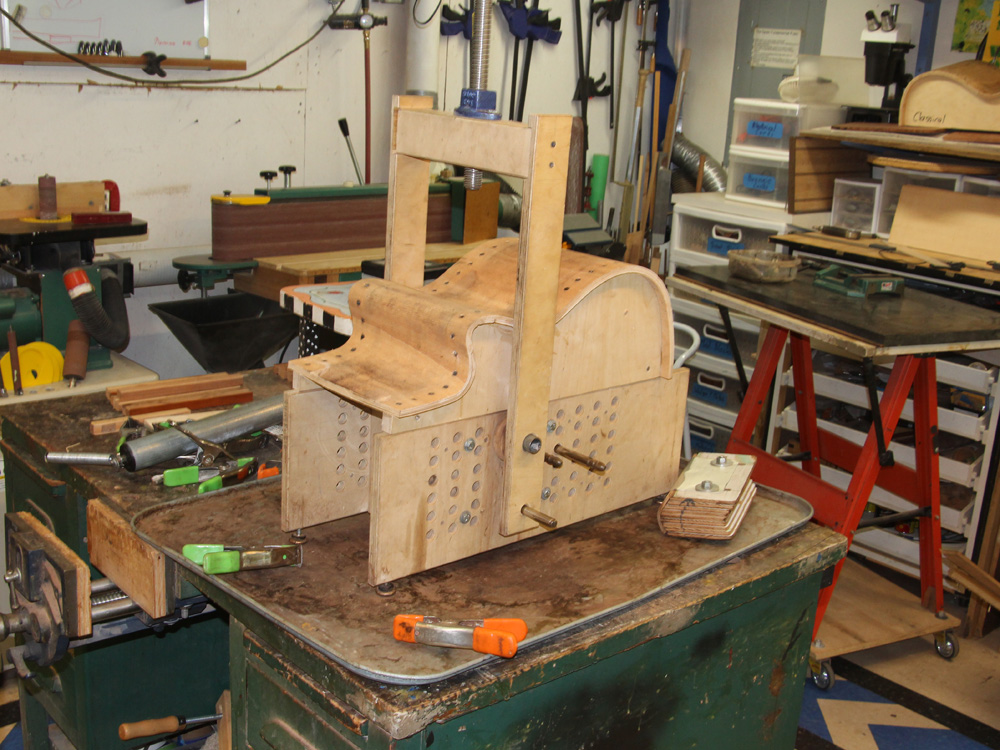
Now to bend the sides.
I made this form especially for this job. The cutaway curves have a little less than a 1 inch radius, the tightest bend I thought I could get away with... this is my first venetian cutaway.
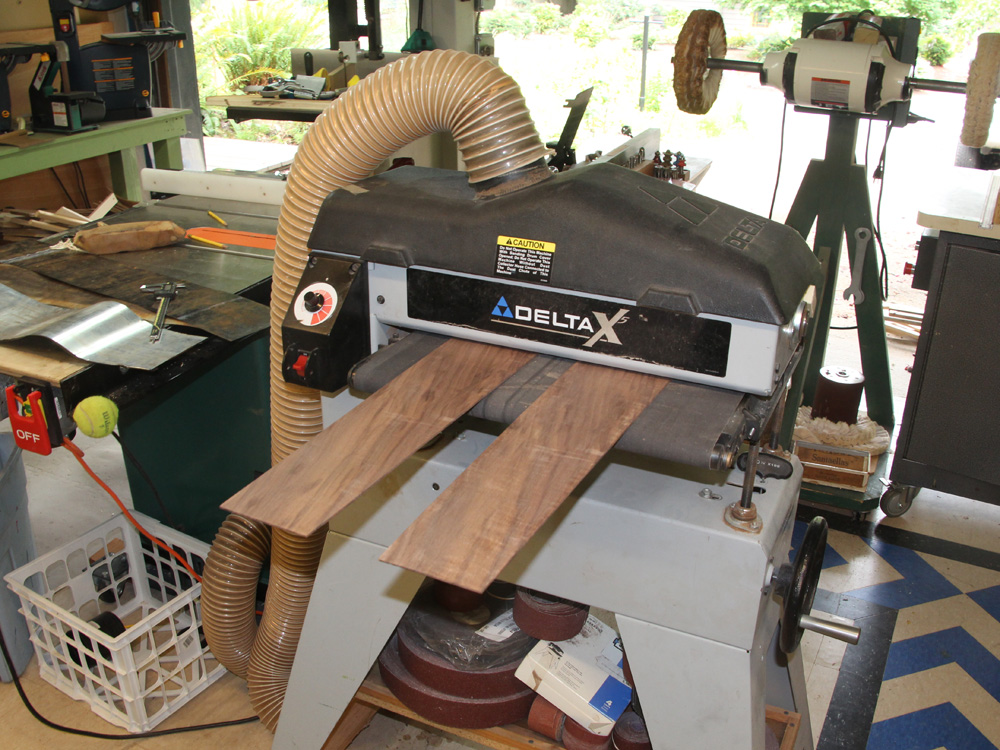 ( 017 ) 13-July-2015
The drum sander reduces the sides to 90 mil thick.
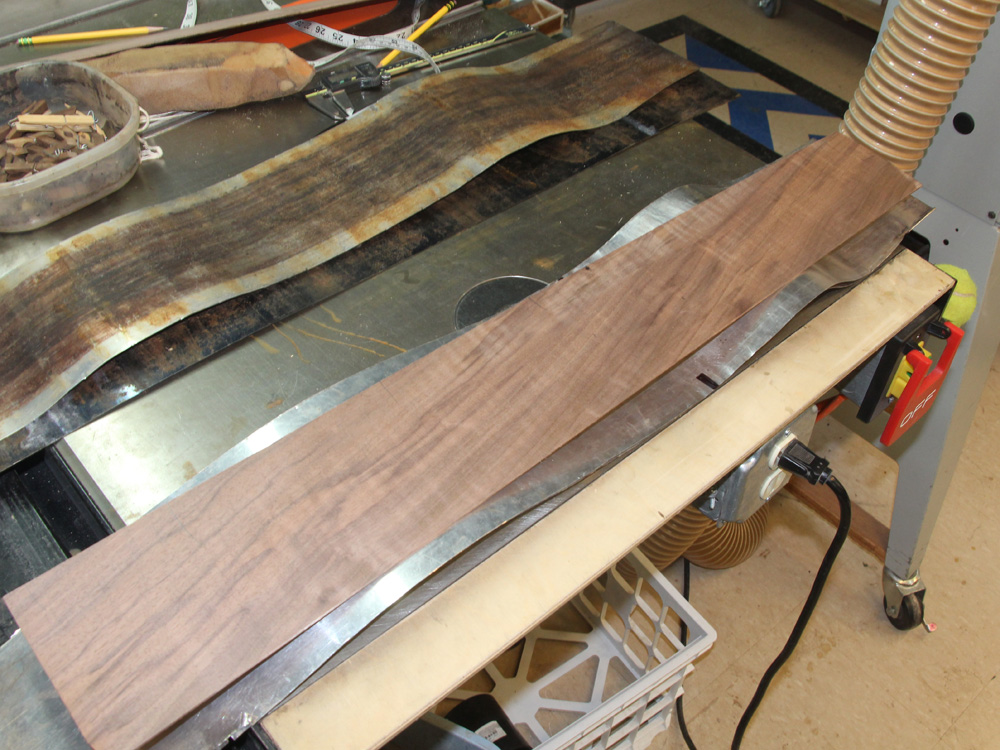 ( 018 ) 13-July-2015
To make the wood pliable I use this heating blanket. The heating element is between the two sheets of aluminum that the wood is laying on.
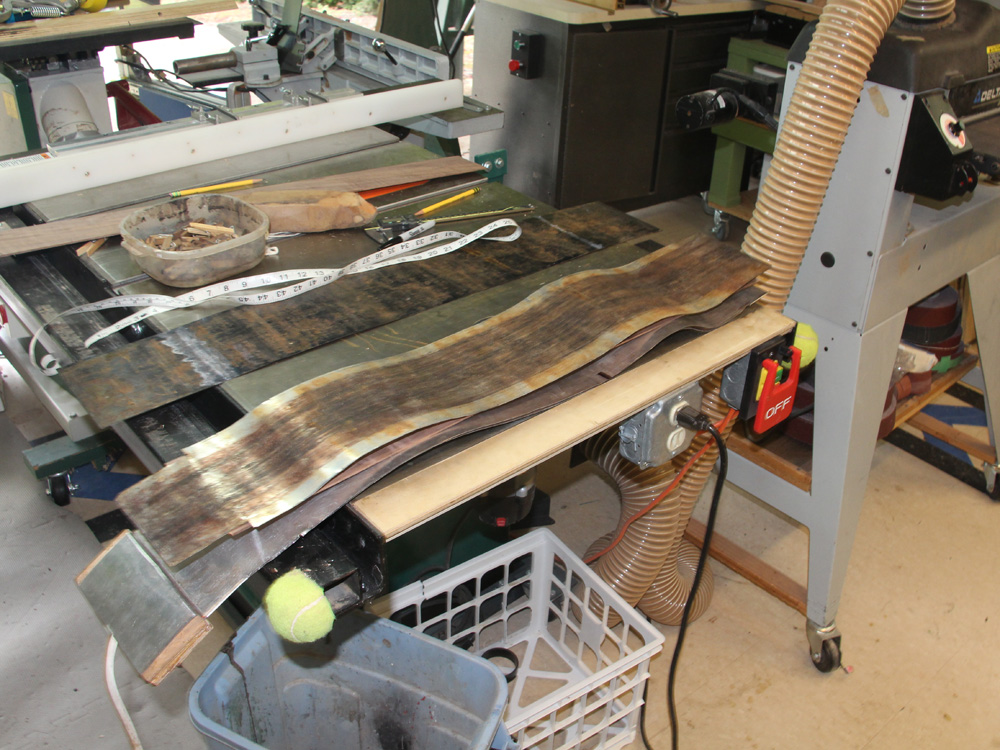 ( 019 ) 13-July-2015
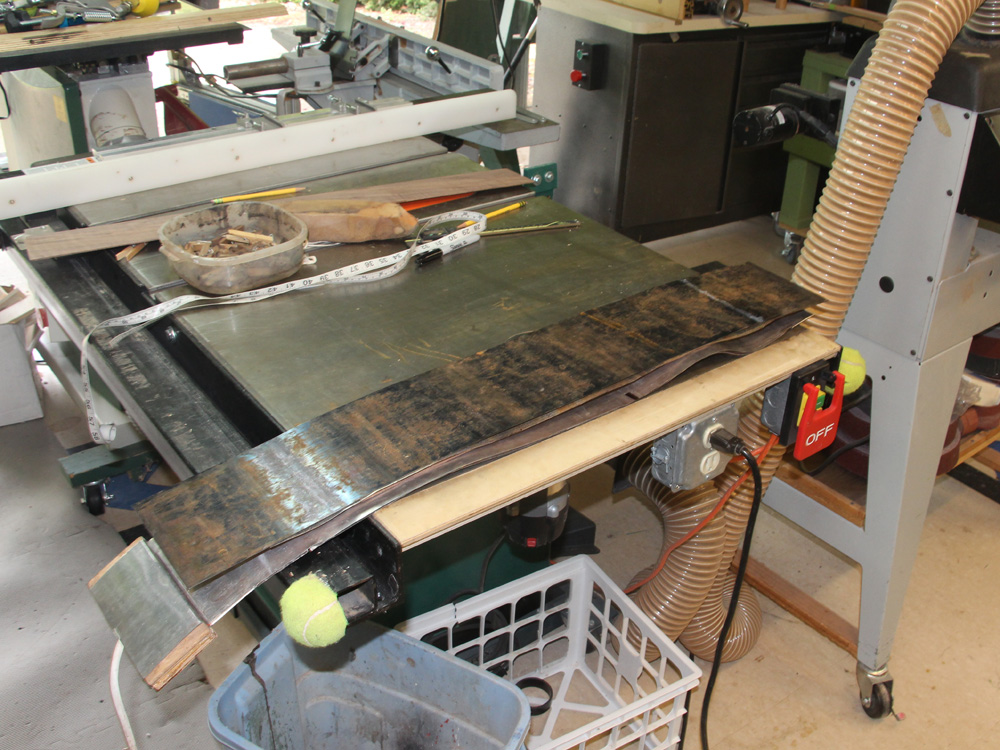
I lay another sheet of aluminum on top of the wood.
 ( 020 ) 13-July-2015
And then a sheet of thin spring steel.
 ( 021 ) 13-July-2015
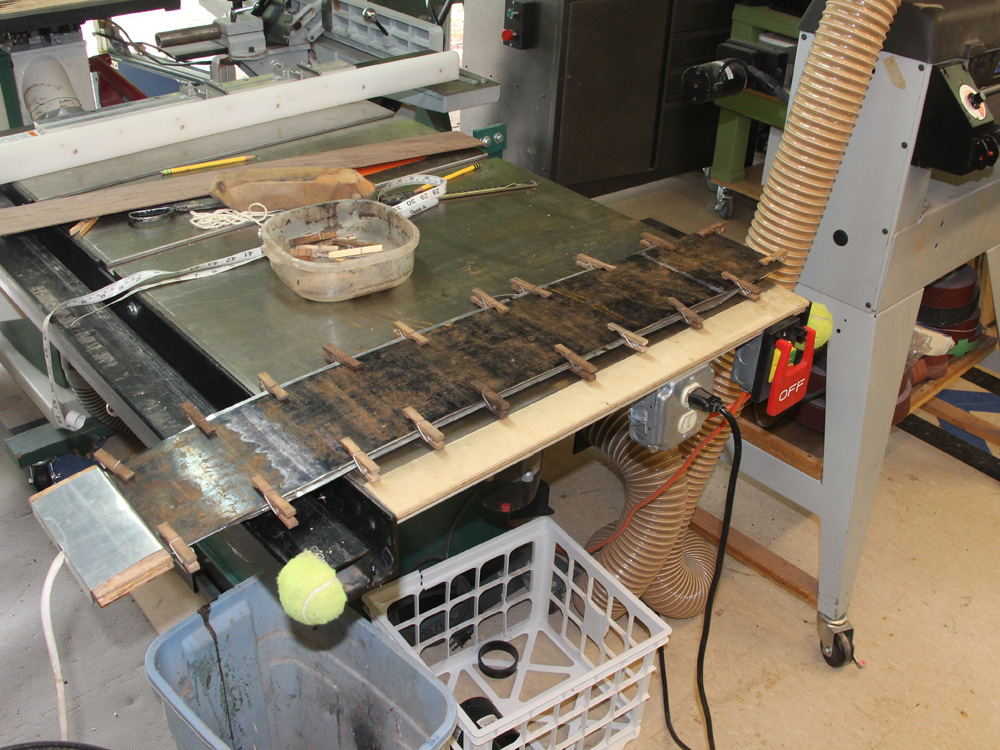
Finally I use a set of clothes pins to hold everything together.
 ( 022 ) 13-July-2015
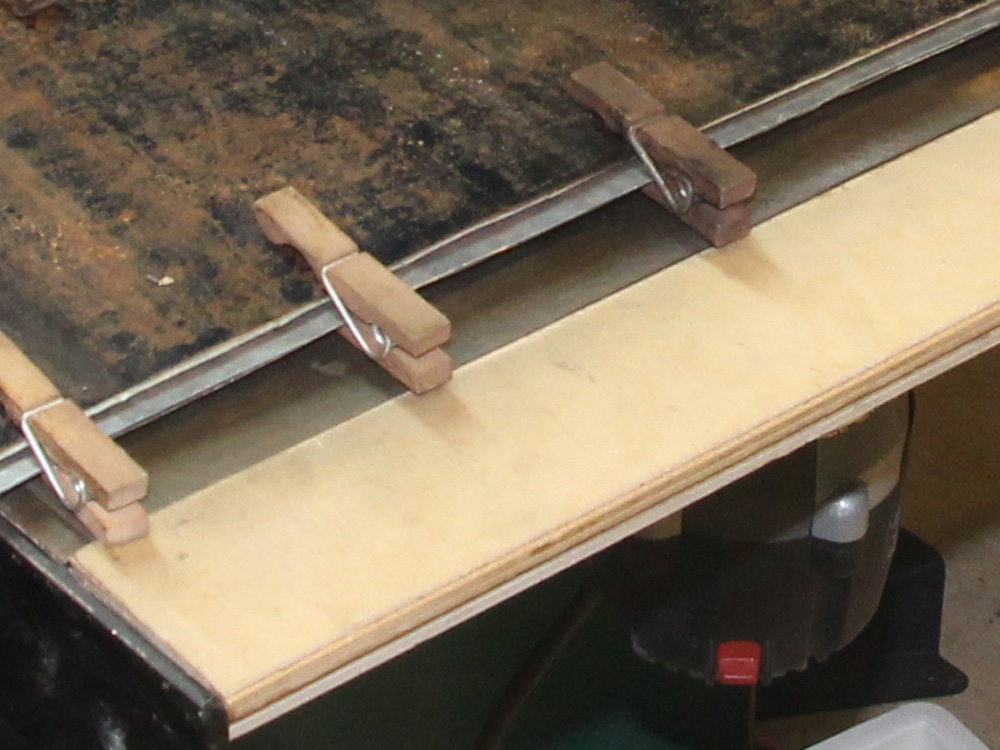
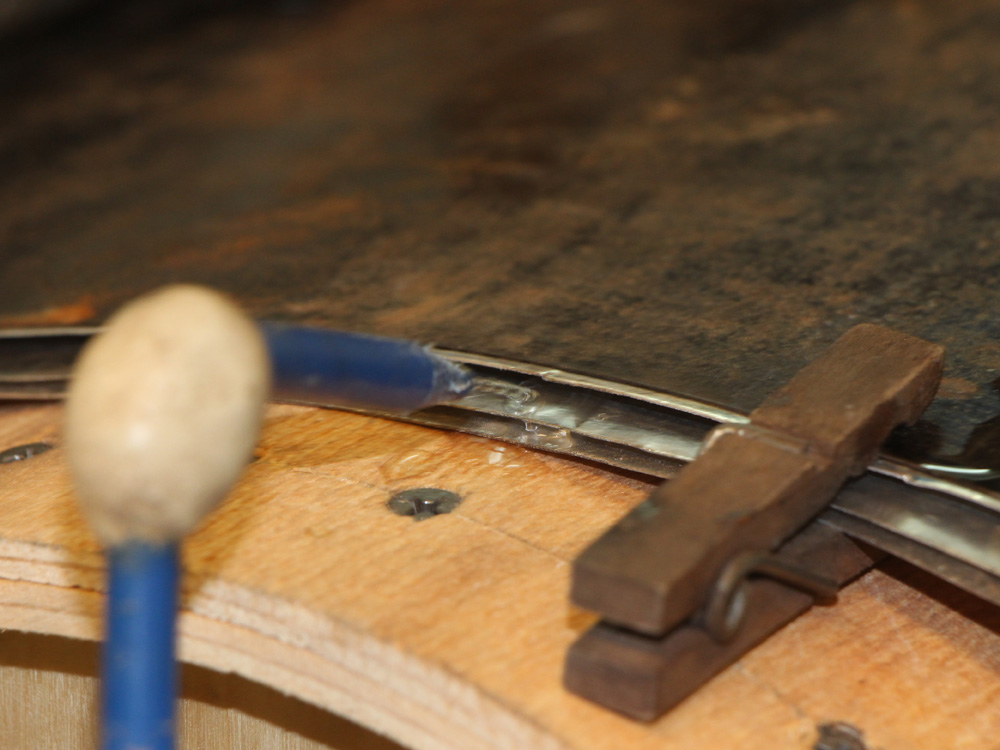
I leave a small lip to help when I squirt water between the layers.
 ( 023 ) 13-July-2015
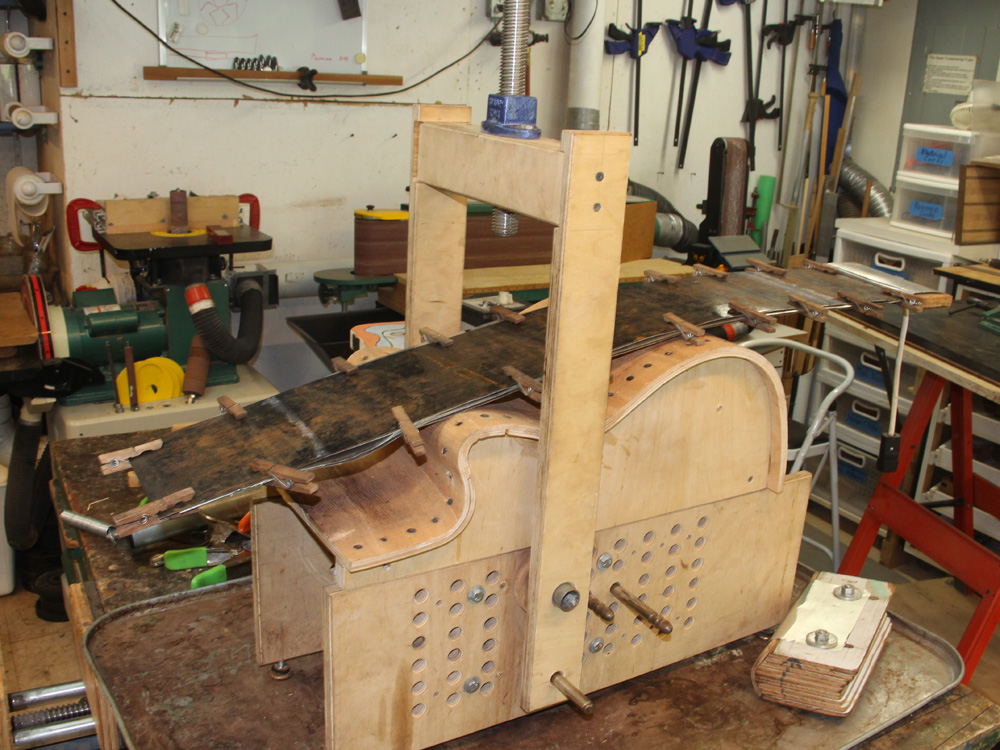
This assembly goes into the bending machine.
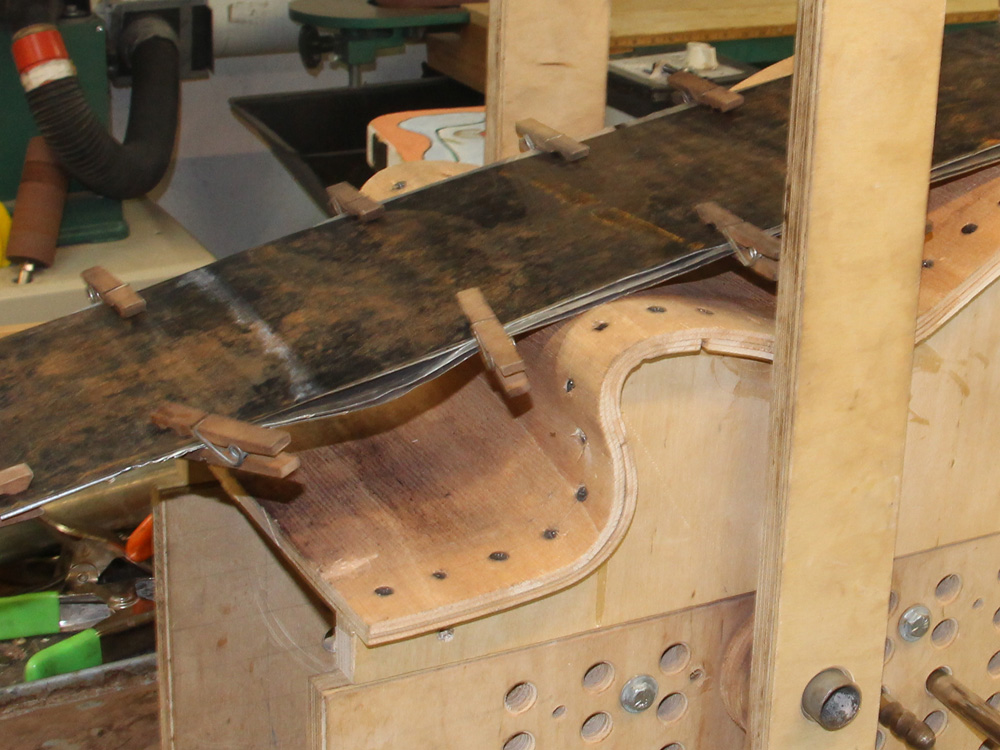 ( 024 ) 13-July-2015
It's a tight bend.
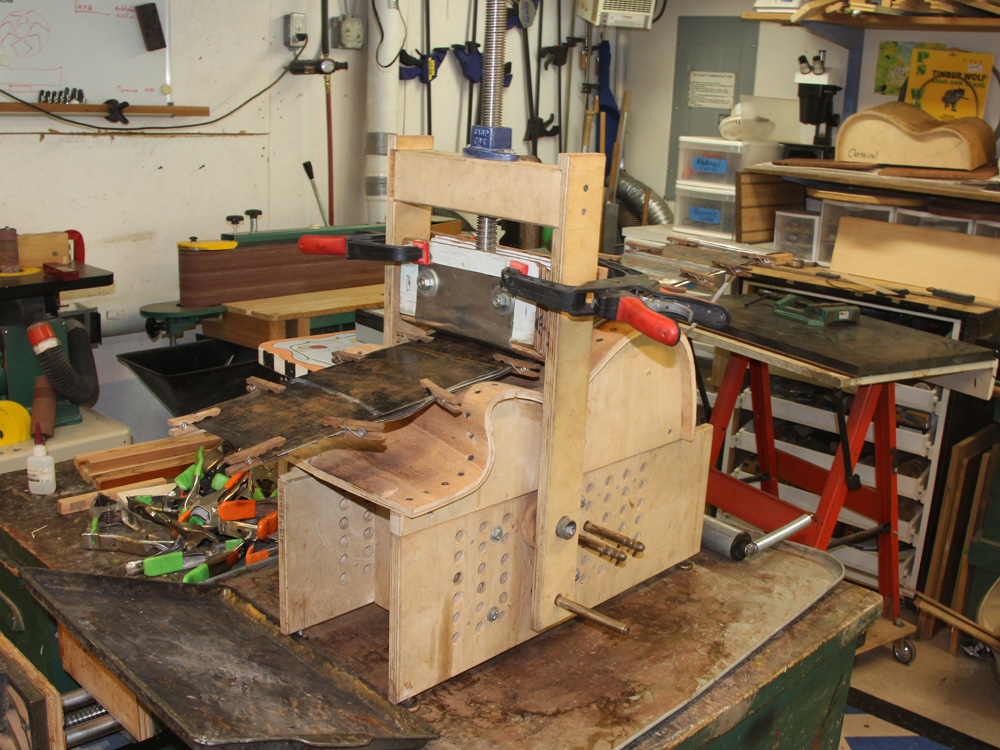 ( 025 ) 13-July-2015
I place the shoe and start heating up the assembly.
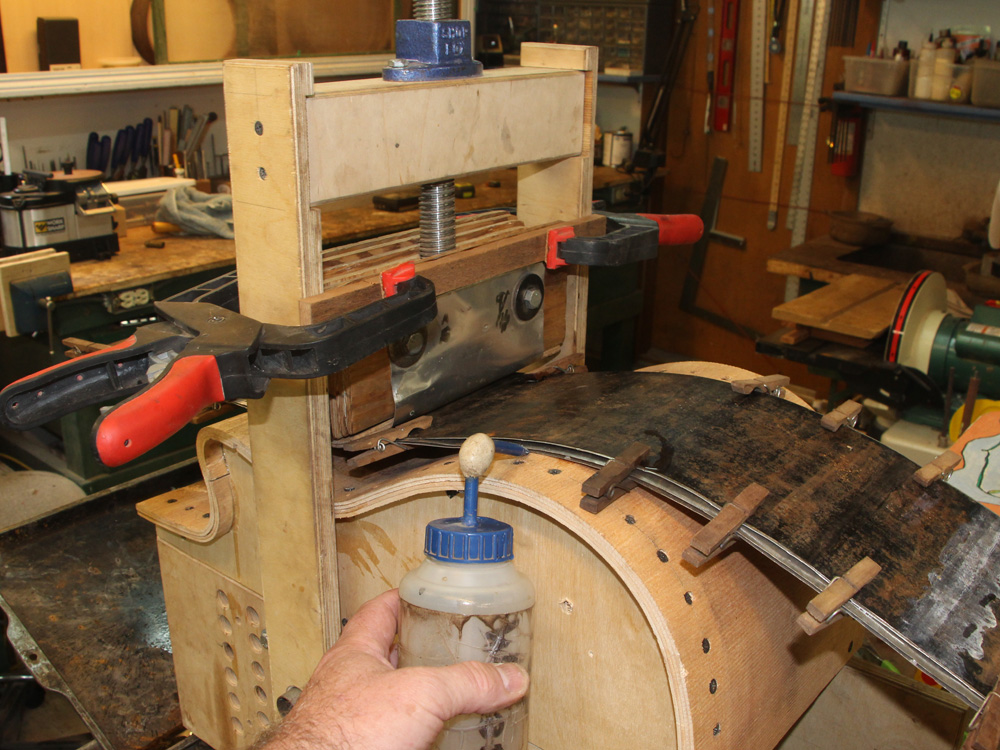 ( 026 ) 13-July-2015
A bit of water helps to keep the wood from scorching and to help lubricate the process.
 ( 027 ) 13-July-2015
I squirt a bit of water every few minutes.
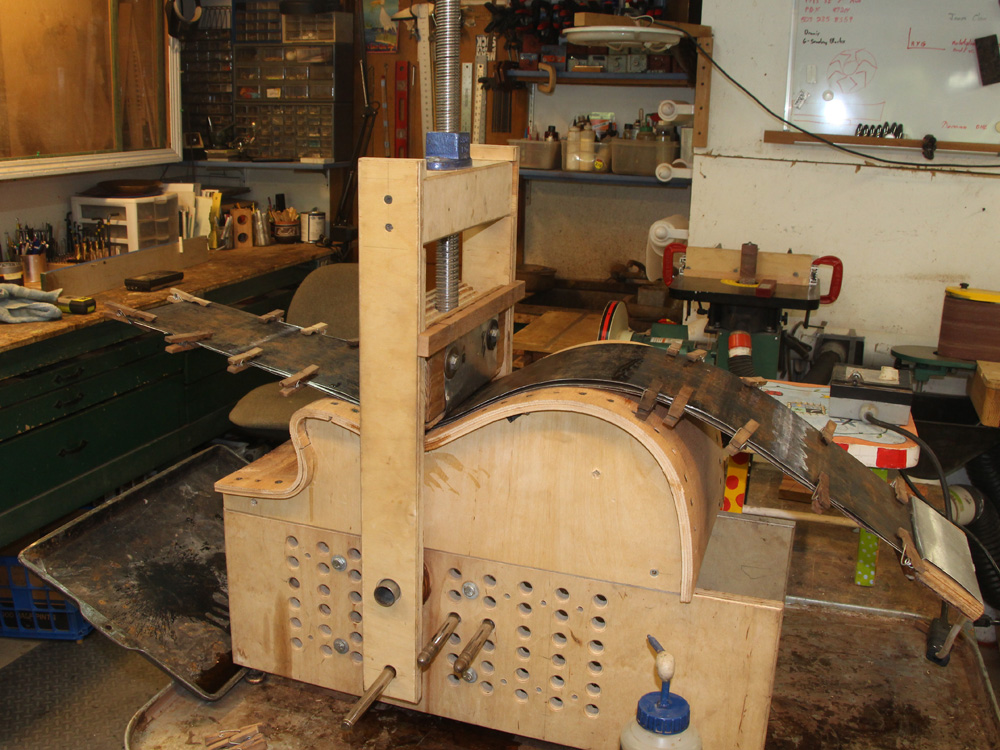 ( 028 ) 13-July-2015
I start bending the wood by pressing the waist into place.
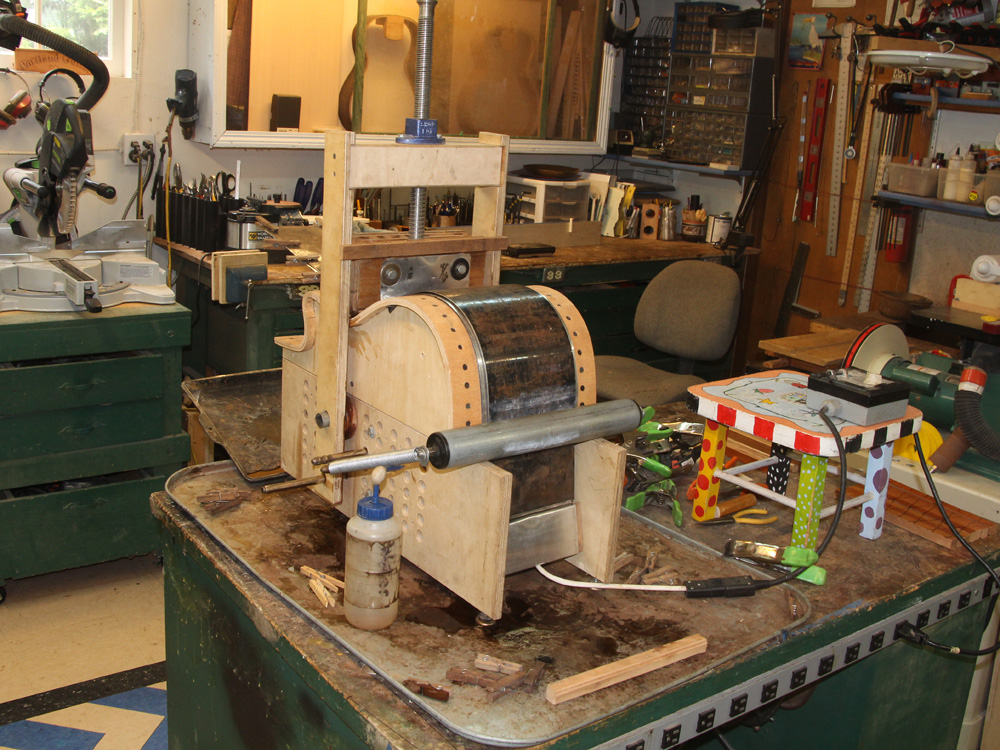 ( 029 ) 13-July-2015
Then the lower bout.
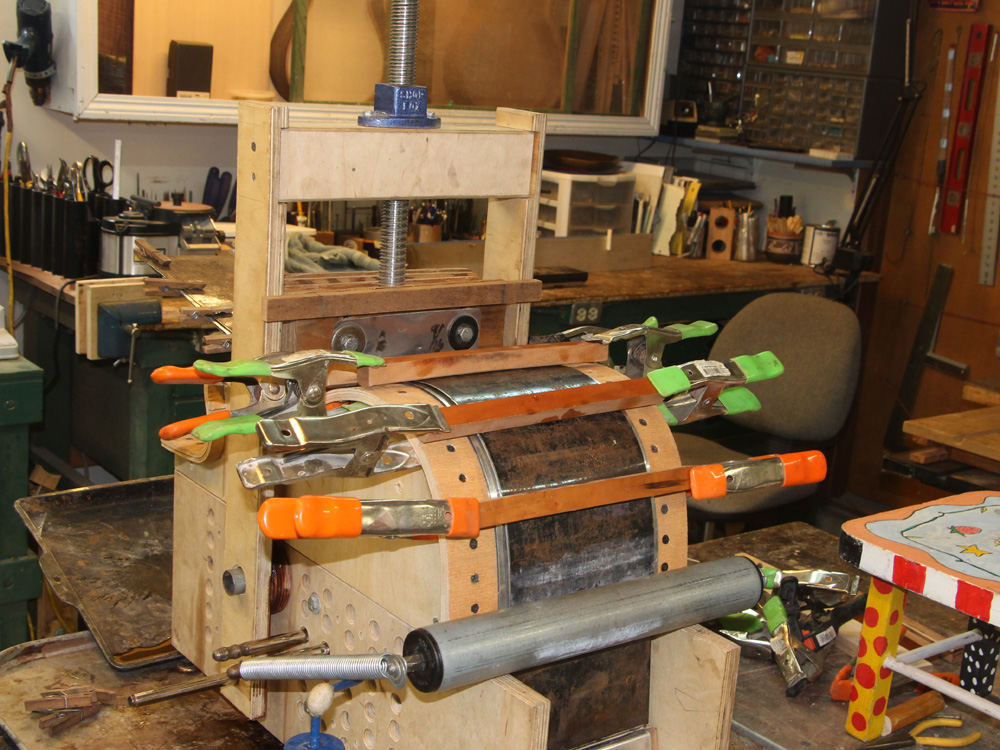 ( 030 ) 13-July-2015
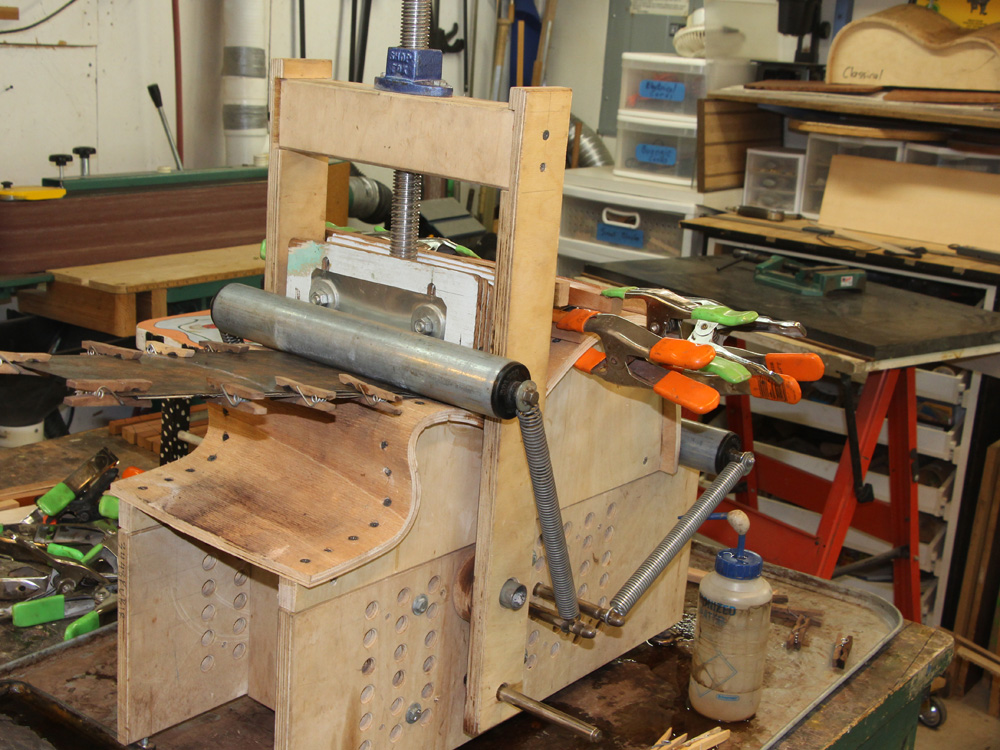 ( 031 ) 13-July-2015
And then I start working on the cutaway...
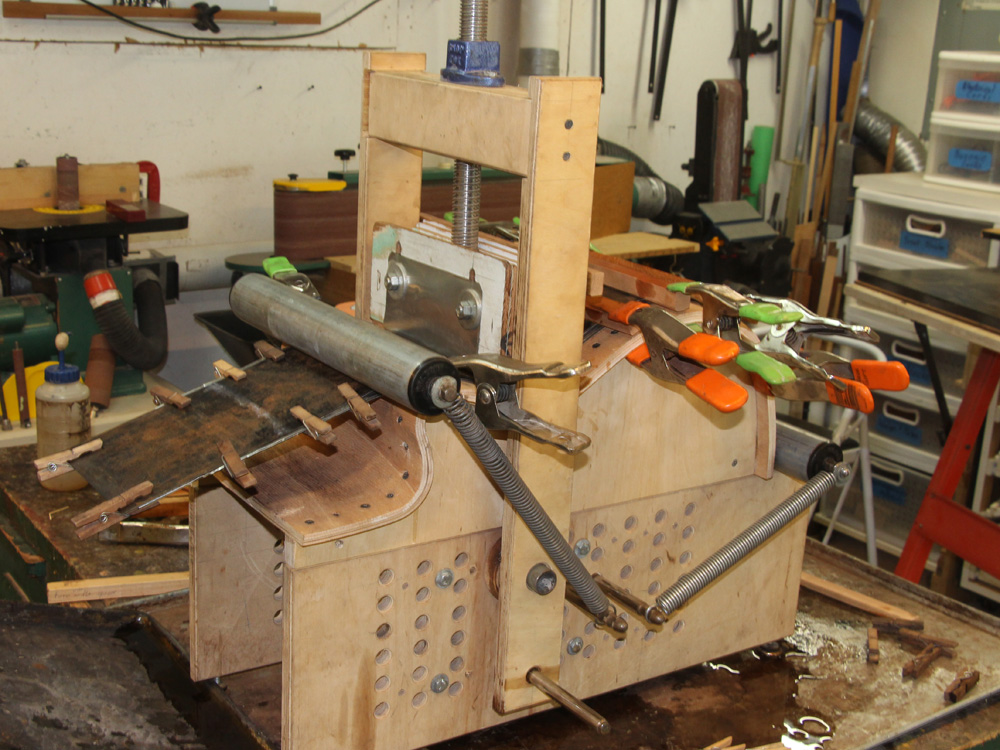 ( 032 ) 13-July-2015
Slowly...
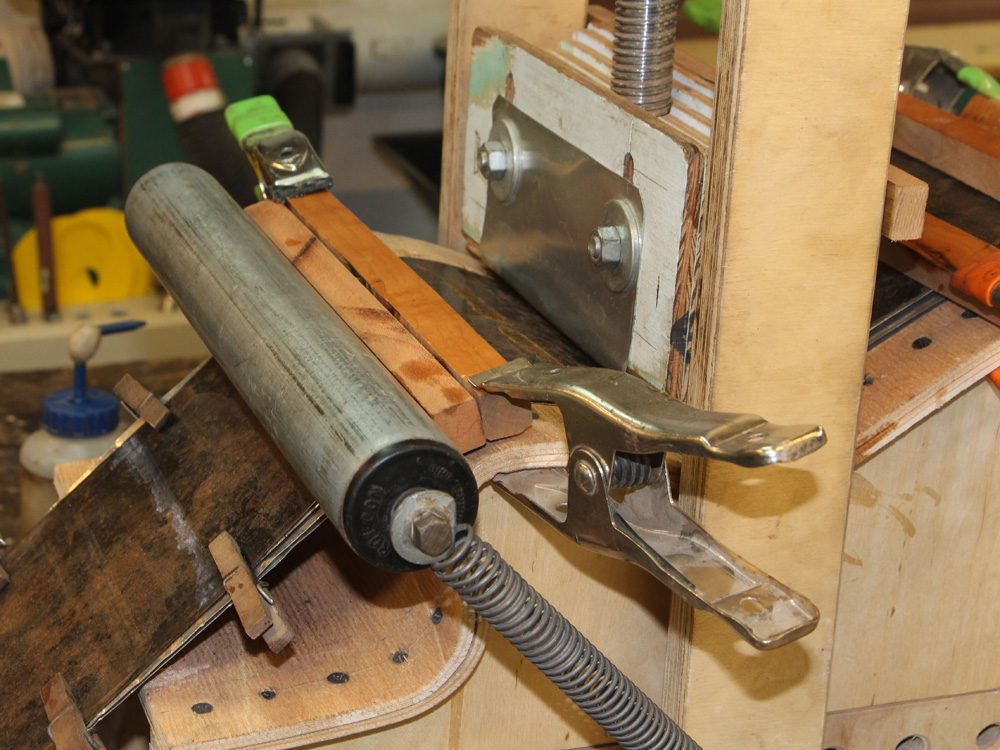 ( 033 ) 13-July-2015
A little bit at a time...
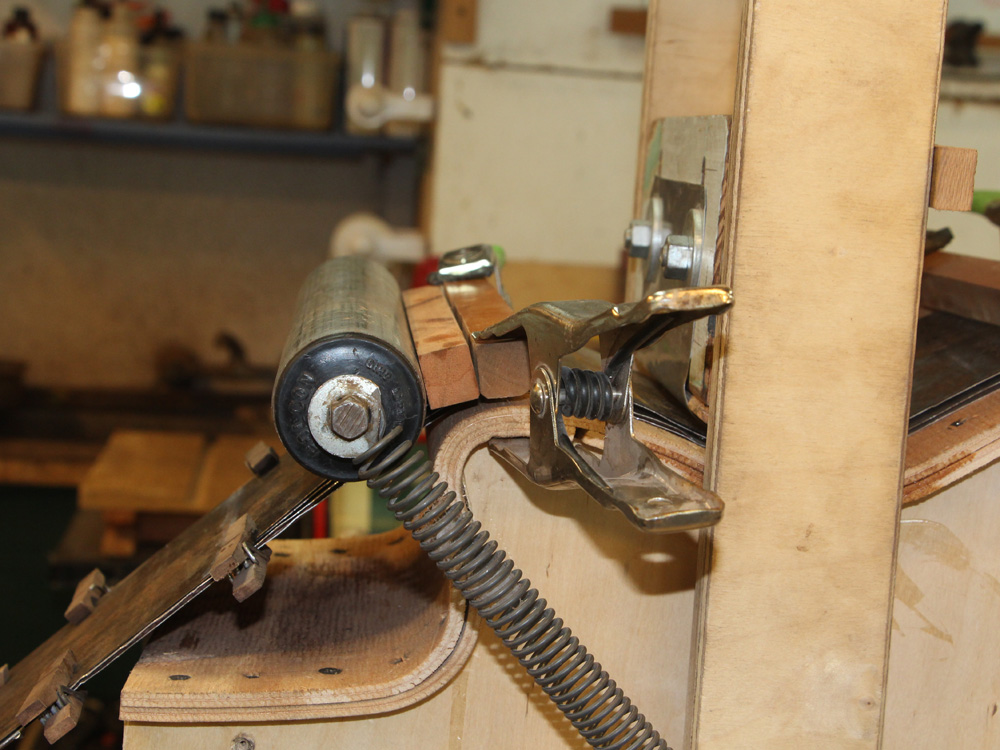 ( 034 ) 13-July-2015
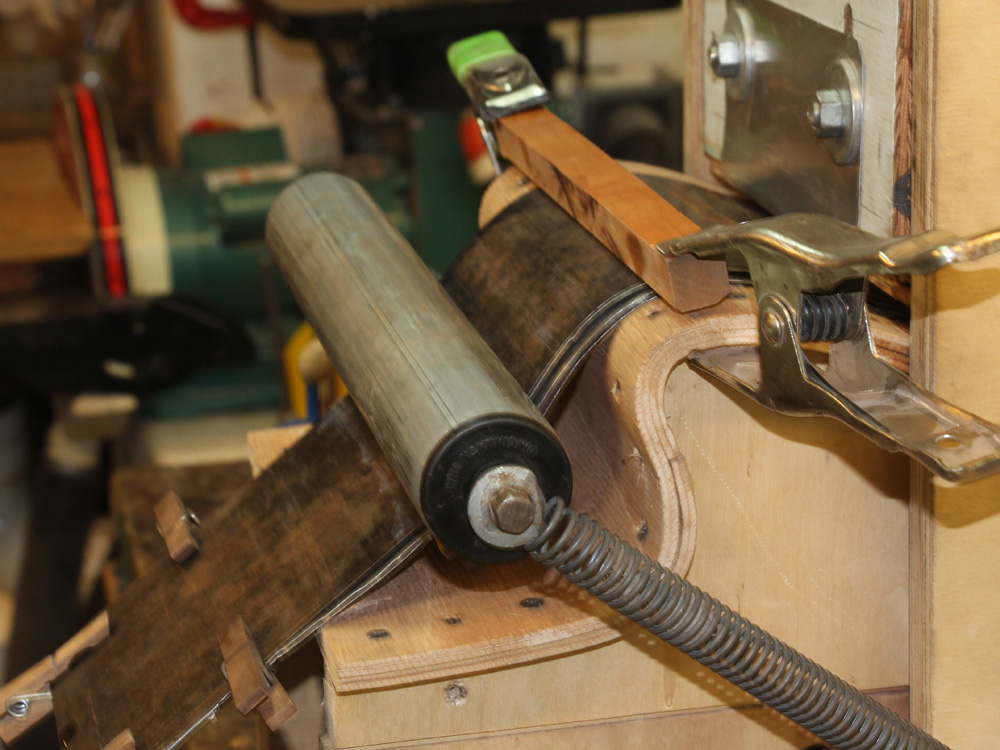 ( 035 ) 13-July-2015
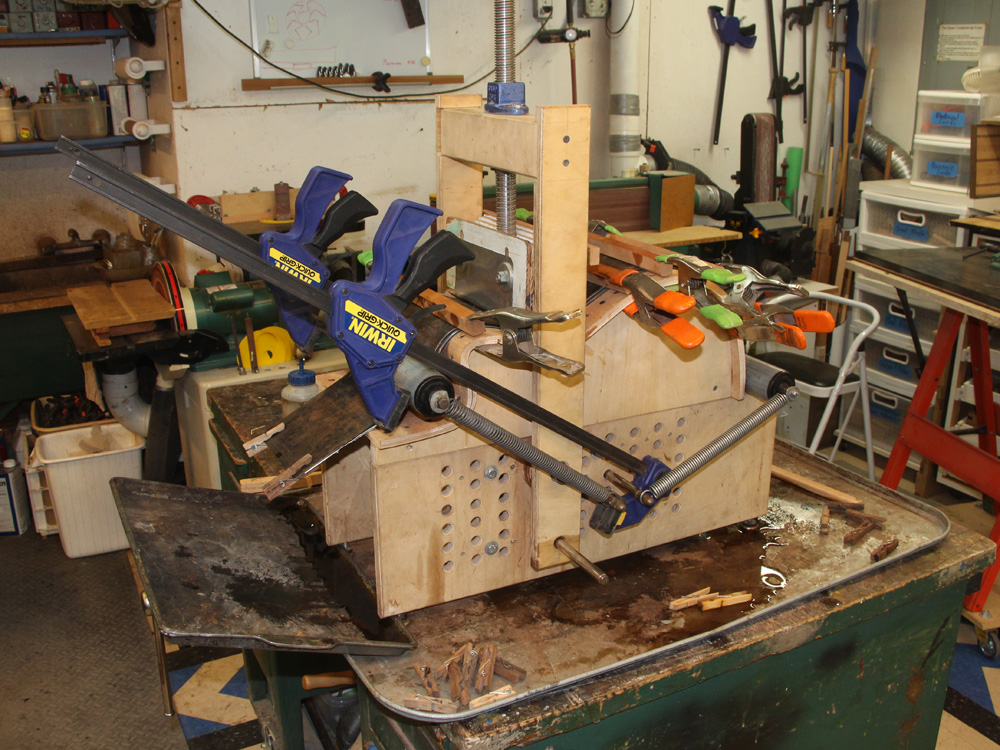 ( 036 ) 13-July-2015
A couple of clamps help in the tight spots.
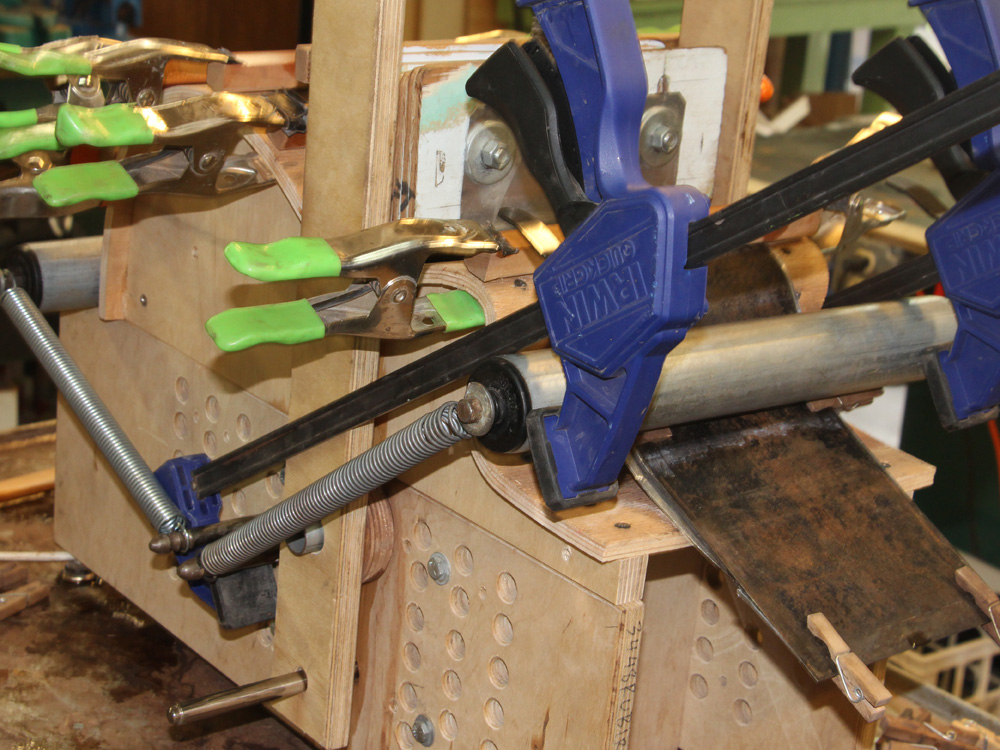 ( 037 ) 13-July-2015
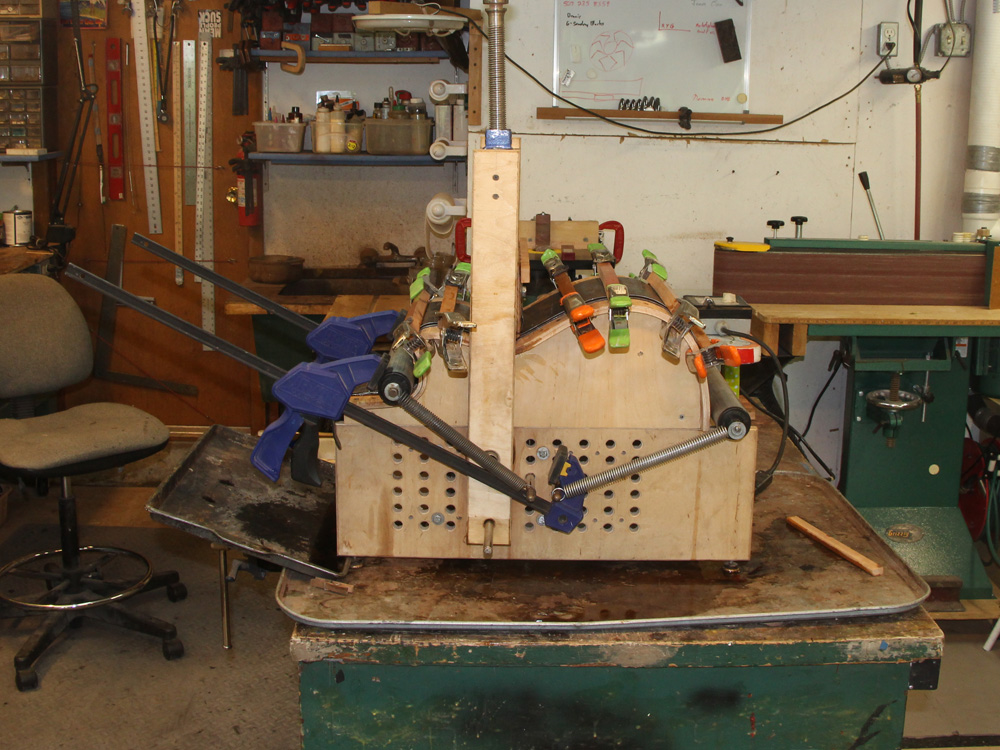 ( 038 ) 13-July-2015
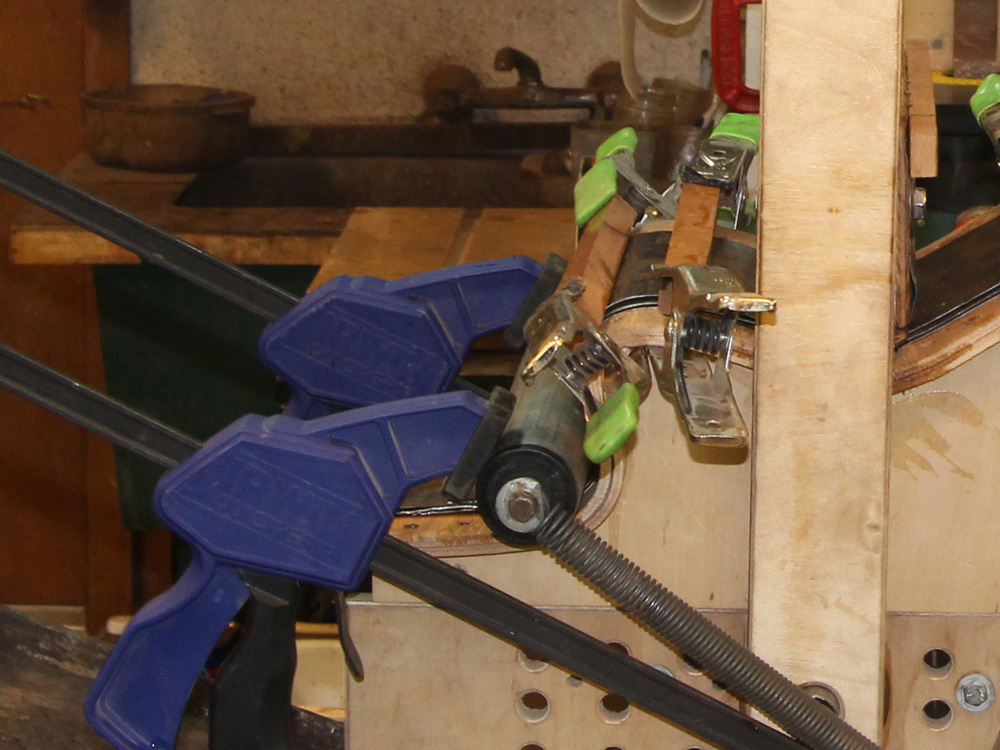 ( 039 ) 13-July-2015
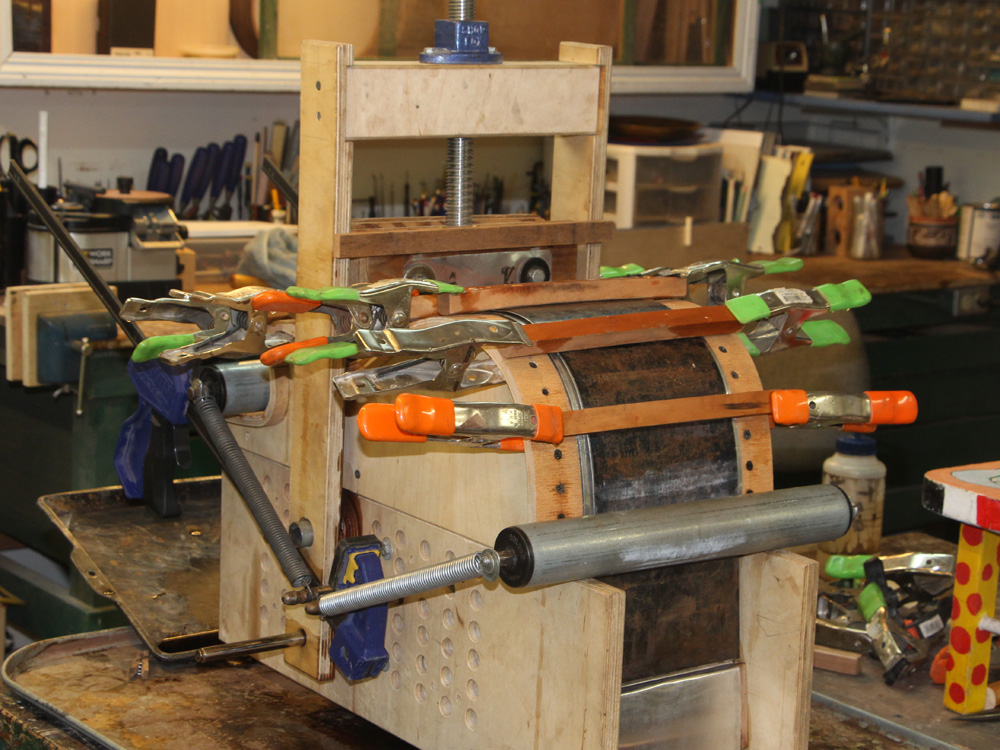 ( 040 ) 13-July-2015
First part success.
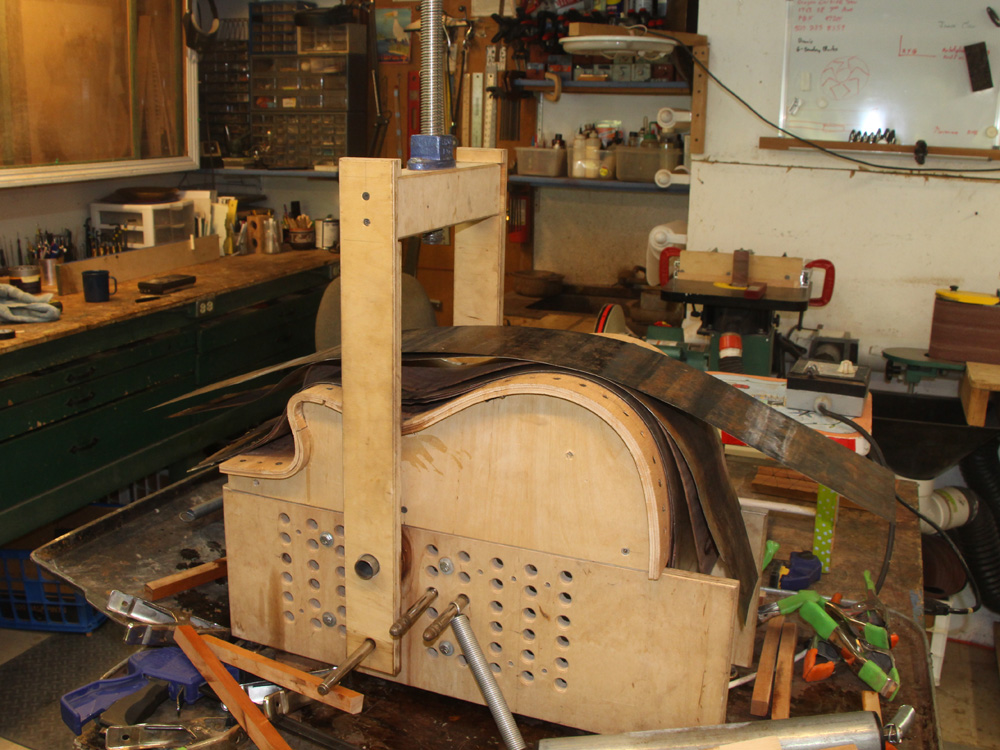 ( 041 ) 13-July-2015
Now I take everything apart to expose the wood so it will dry.
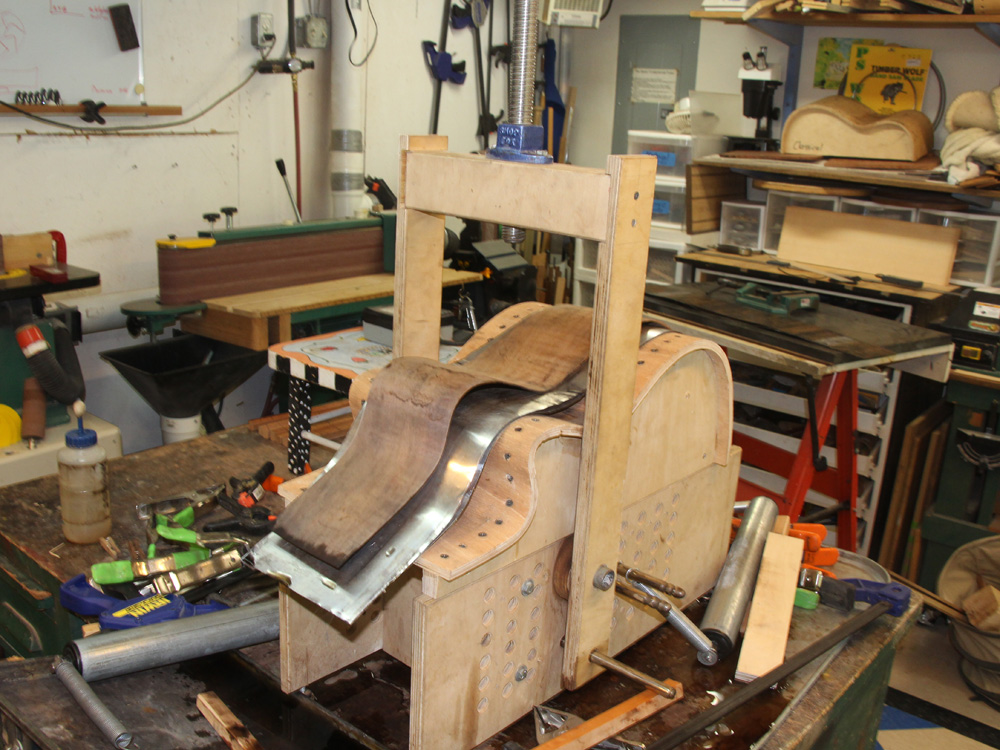 ( 042 ) 13-July-2015
Nothing broke!
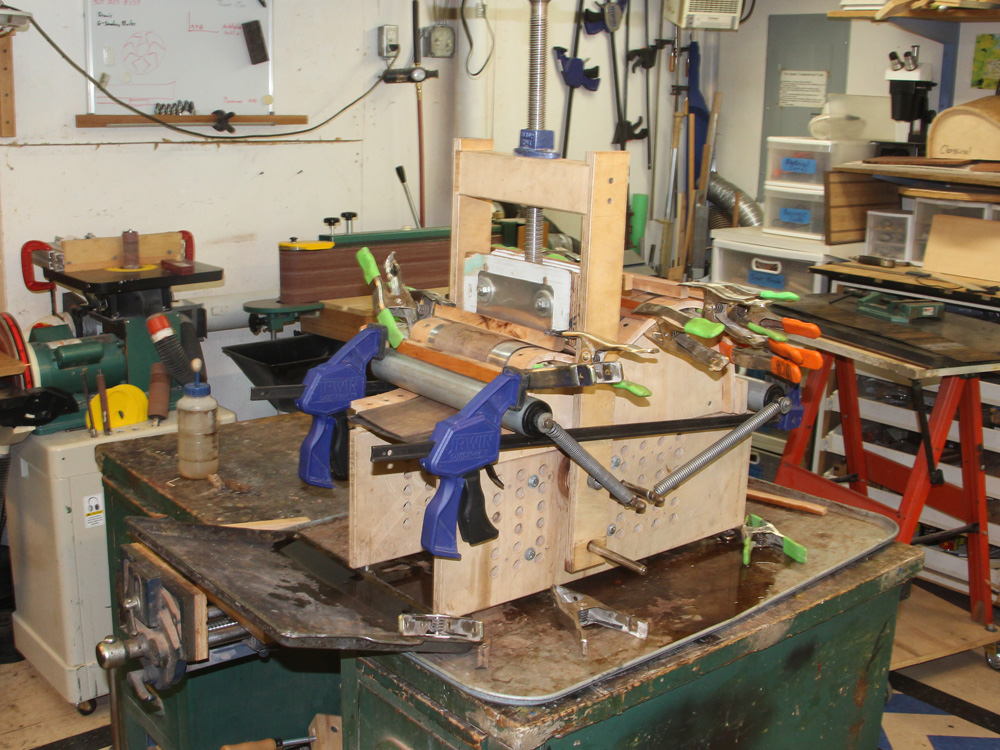 ( 043 ) 13-July-2015
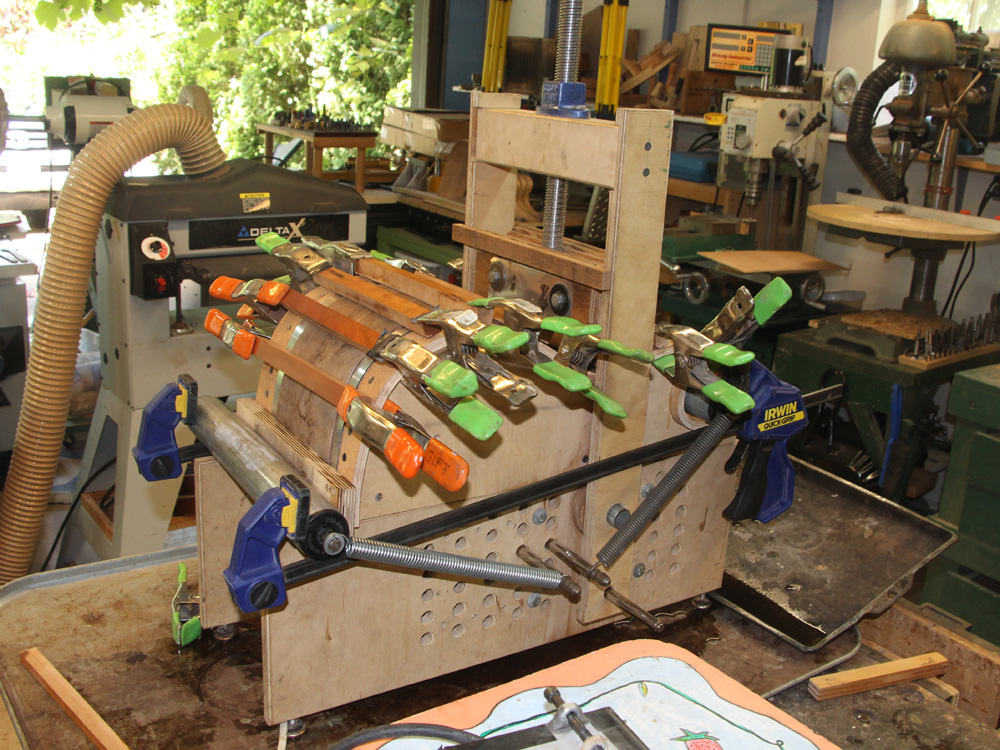
And then I put everything back together so I can cook the wood and get a good set.
 ( 044 ) 13-July-2015
 ( 045 ) 13-July-2015
 ( 046 ) 13-July-2015
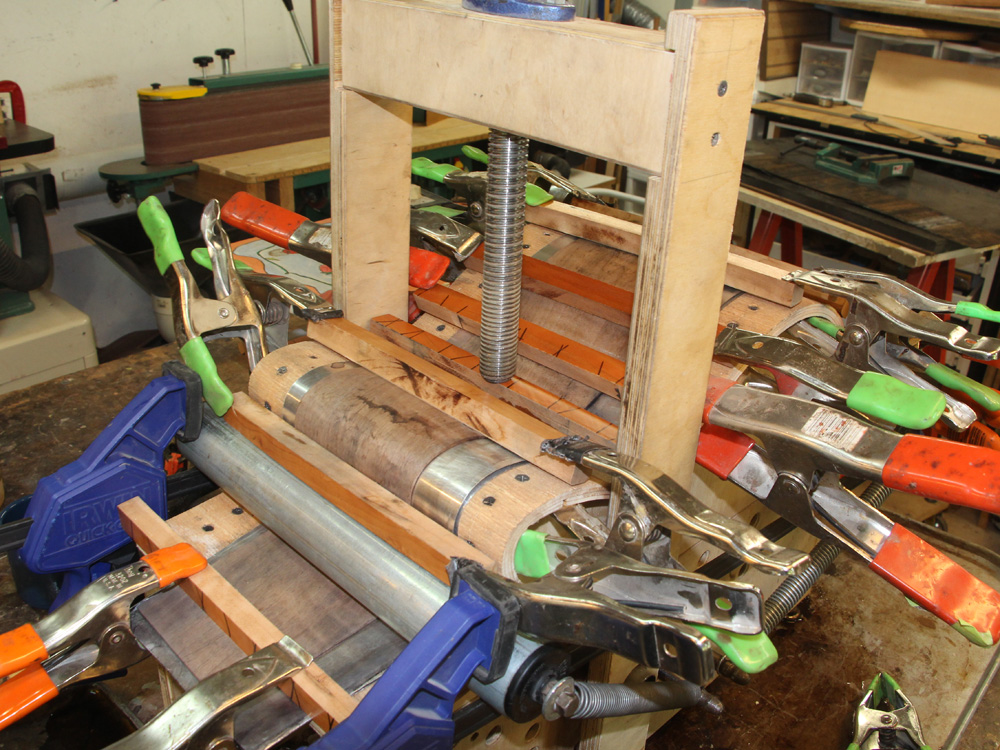
I use the cross slats to make sure everting lies flat.
 ( 047 ) 13-July-2015
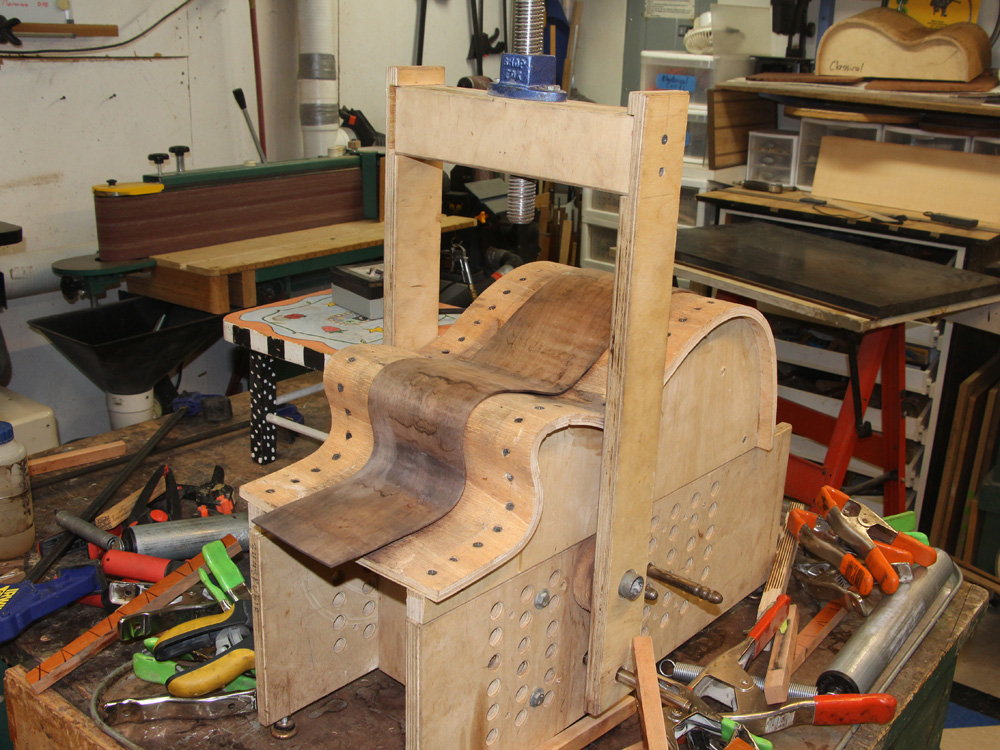
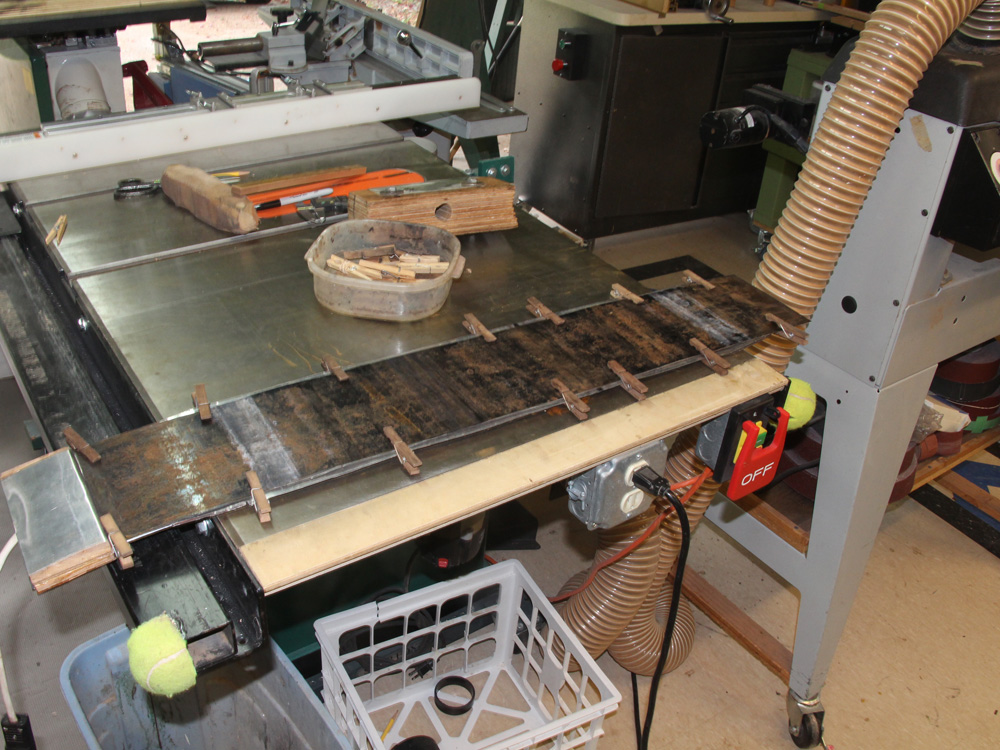
After several hours of moderate heat the wood holds it shape.
 ( 048 ) 13-July-2015
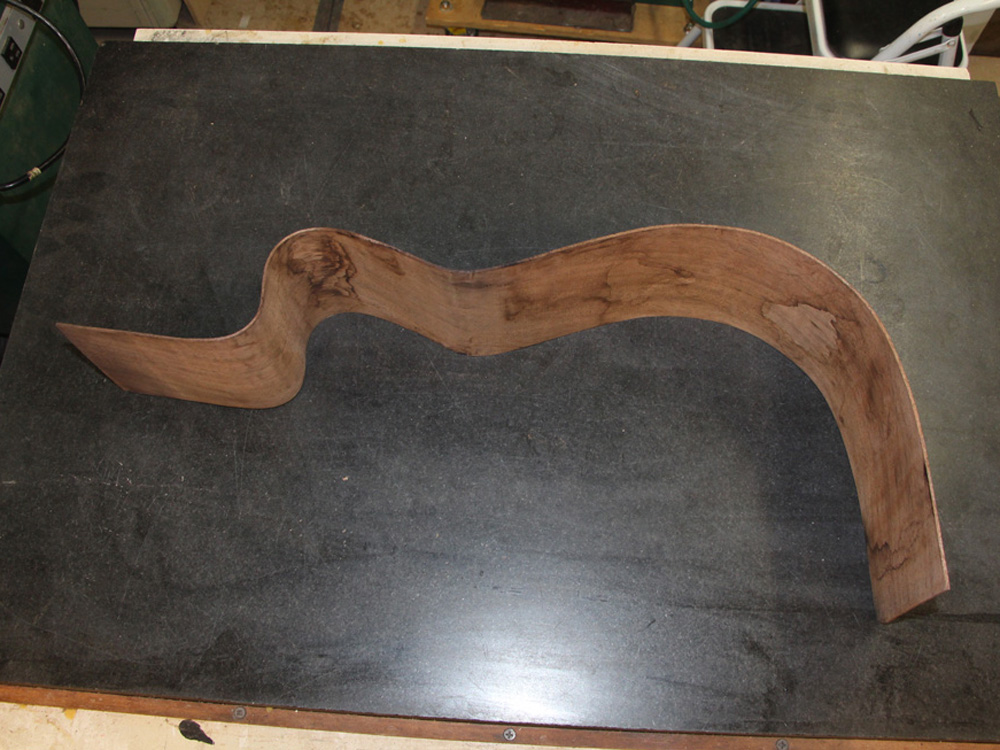
A funny shaped piece of wood.
 ( 049 ) 13-July-2015
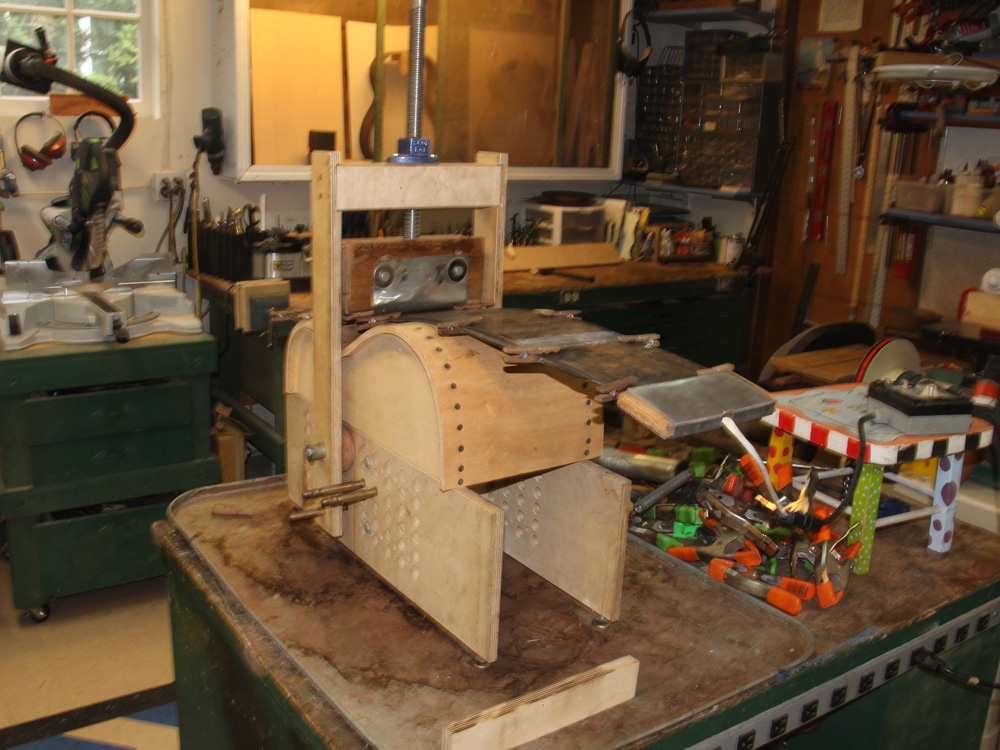
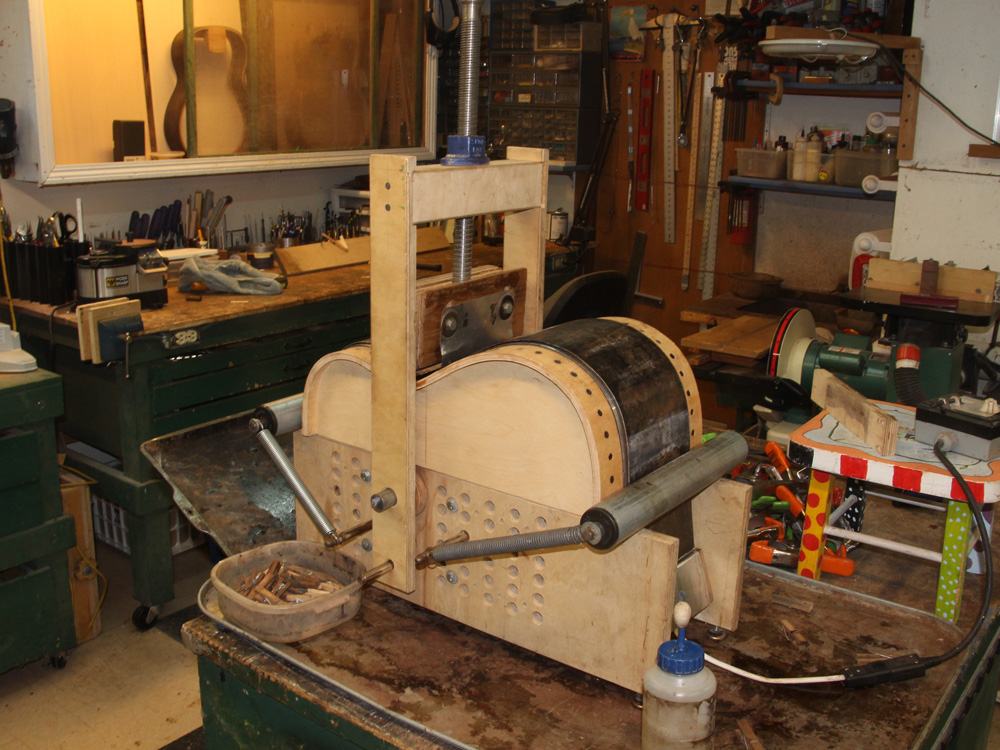
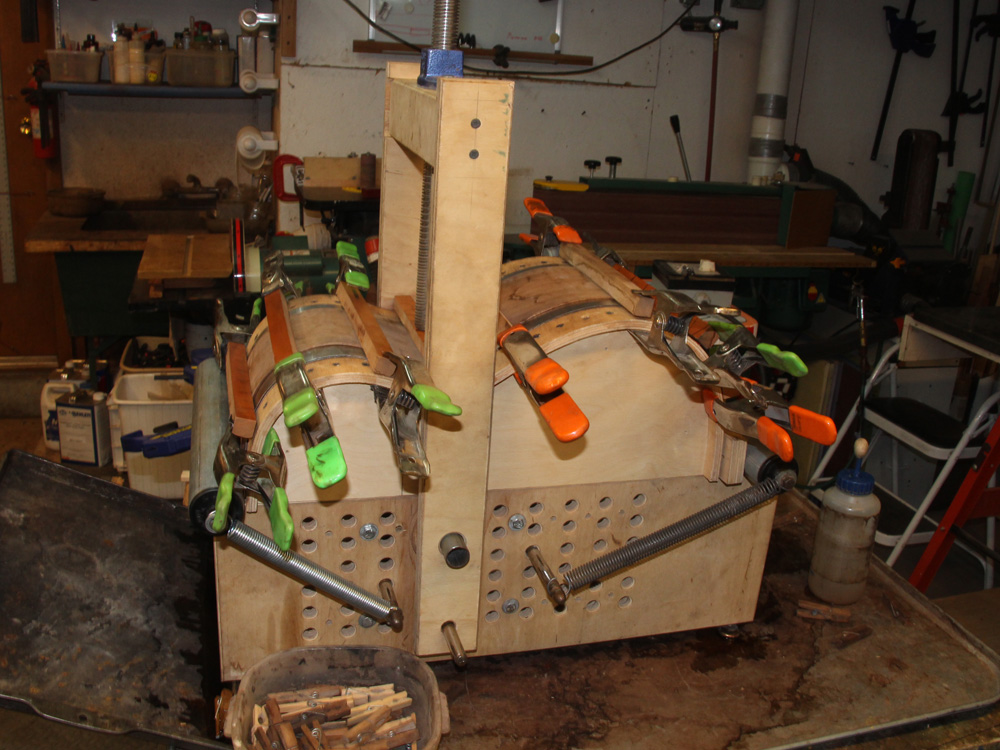
The same thing gets done to the other side.
 ( 050 ) 13-July-2015
 ( 051 ) 13-July-2015
 ( 052 ) 13-July-2015
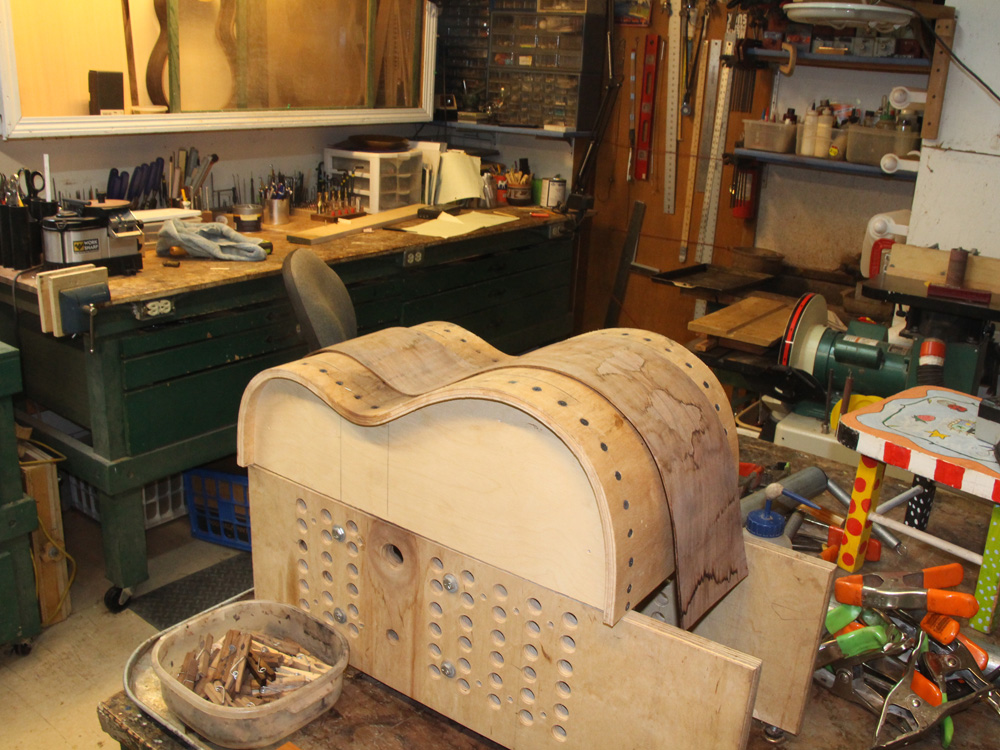 ( 053 ) 13-July-2015
 ( 054 ) 13-July-2015
And it starts to look like a guitar.
 ( 001 ) 4-Jan-2015
 ( 002 ) 12-Jan-2015
 ( 003 ) 12-Jan-2015
 ( 004 ) 12-Jan-2015
 ( 005 ) 13-July-2015
 ( 006 ) 13-July-2015
 ( 007 ) 13-July-2015
 ( 008 ) 13-July-2015
 ( 009 ) 13-July-2015
 ( 010 ) 13-July-2015
 ( 011 ) 13-July-2015
 ( 012 ) 13-July-2015
 ( 013 ) 13-July-2015
 ( 014 ) 13-July-2015
 ( 015 ) 13-July-2015
 ( 016 ) 13-July-2015
 ( 017 ) 13-July-2015
 ( 018 ) 13-July-2015
 ( 019 ) 13-July-2015
 ( 020 ) 13-July-2015
 ( 021 ) 13-July-2015
 ( 022 ) 13-July-2015
 ( 023 ) 13-July-2015
 ( 024 ) 13-July-2015
 ( 025 ) 13-July-2015
 ( 026 ) 13-July-2015
 ( 027 ) 13-July-2015
 ( 028 ) 13-July-2015
 ( 029 ) 13-July-2015
 ( 030 ) 13-July-2015
 ( 031 ) 13-July-2015
 ( 032 ) 13-July-2015
 ( 033 ) 13-July-2015
 ( 034 ) 13-July-2015
 ( 035 ) 13-July-2015
 ( 036 ) 13-July-2015
 ( 037 ) 13-July-2015
 ( 038 ) 13-July-2015
 ( 039 ) 13-July-2015
 ( 040 ) 13-July-2015
 ( 041 ) 13-July-2015
 ( 042 ) 13-July-2015
 ( 043 ) 13-July-2015
 ( 044 ) 13-July-2015
 ( 045 ) 13-July-2015
 ( 046 ) 13-July-2015
 ( 047 ) 13-July-2015
 ( 048 ) 13-July-2015
 ( 049 ) 13-July-2015
 ( 050 ) 13-July-2015
 ( 051 ) 13-July-2015
 ( 052 ) 13-July-2015
 ( 053 ) 13-July-2015
 ( 054 ) 13-July-2015